Add WeblyChat to Webflow
Paste one code snippet into Webflow's Custom Code settings. Your chatbot goes live in under 5 minutes.
Difficulty
Easy
Time
About 3 minutes
Requirement
Webflow Basic plan or above (Custom Code access)
Before you start: Copy your embed code from the Add to Site tab in your WeblyChat dashboard. You'll paste it in the steps below.
Open Your Webflow Site Settings
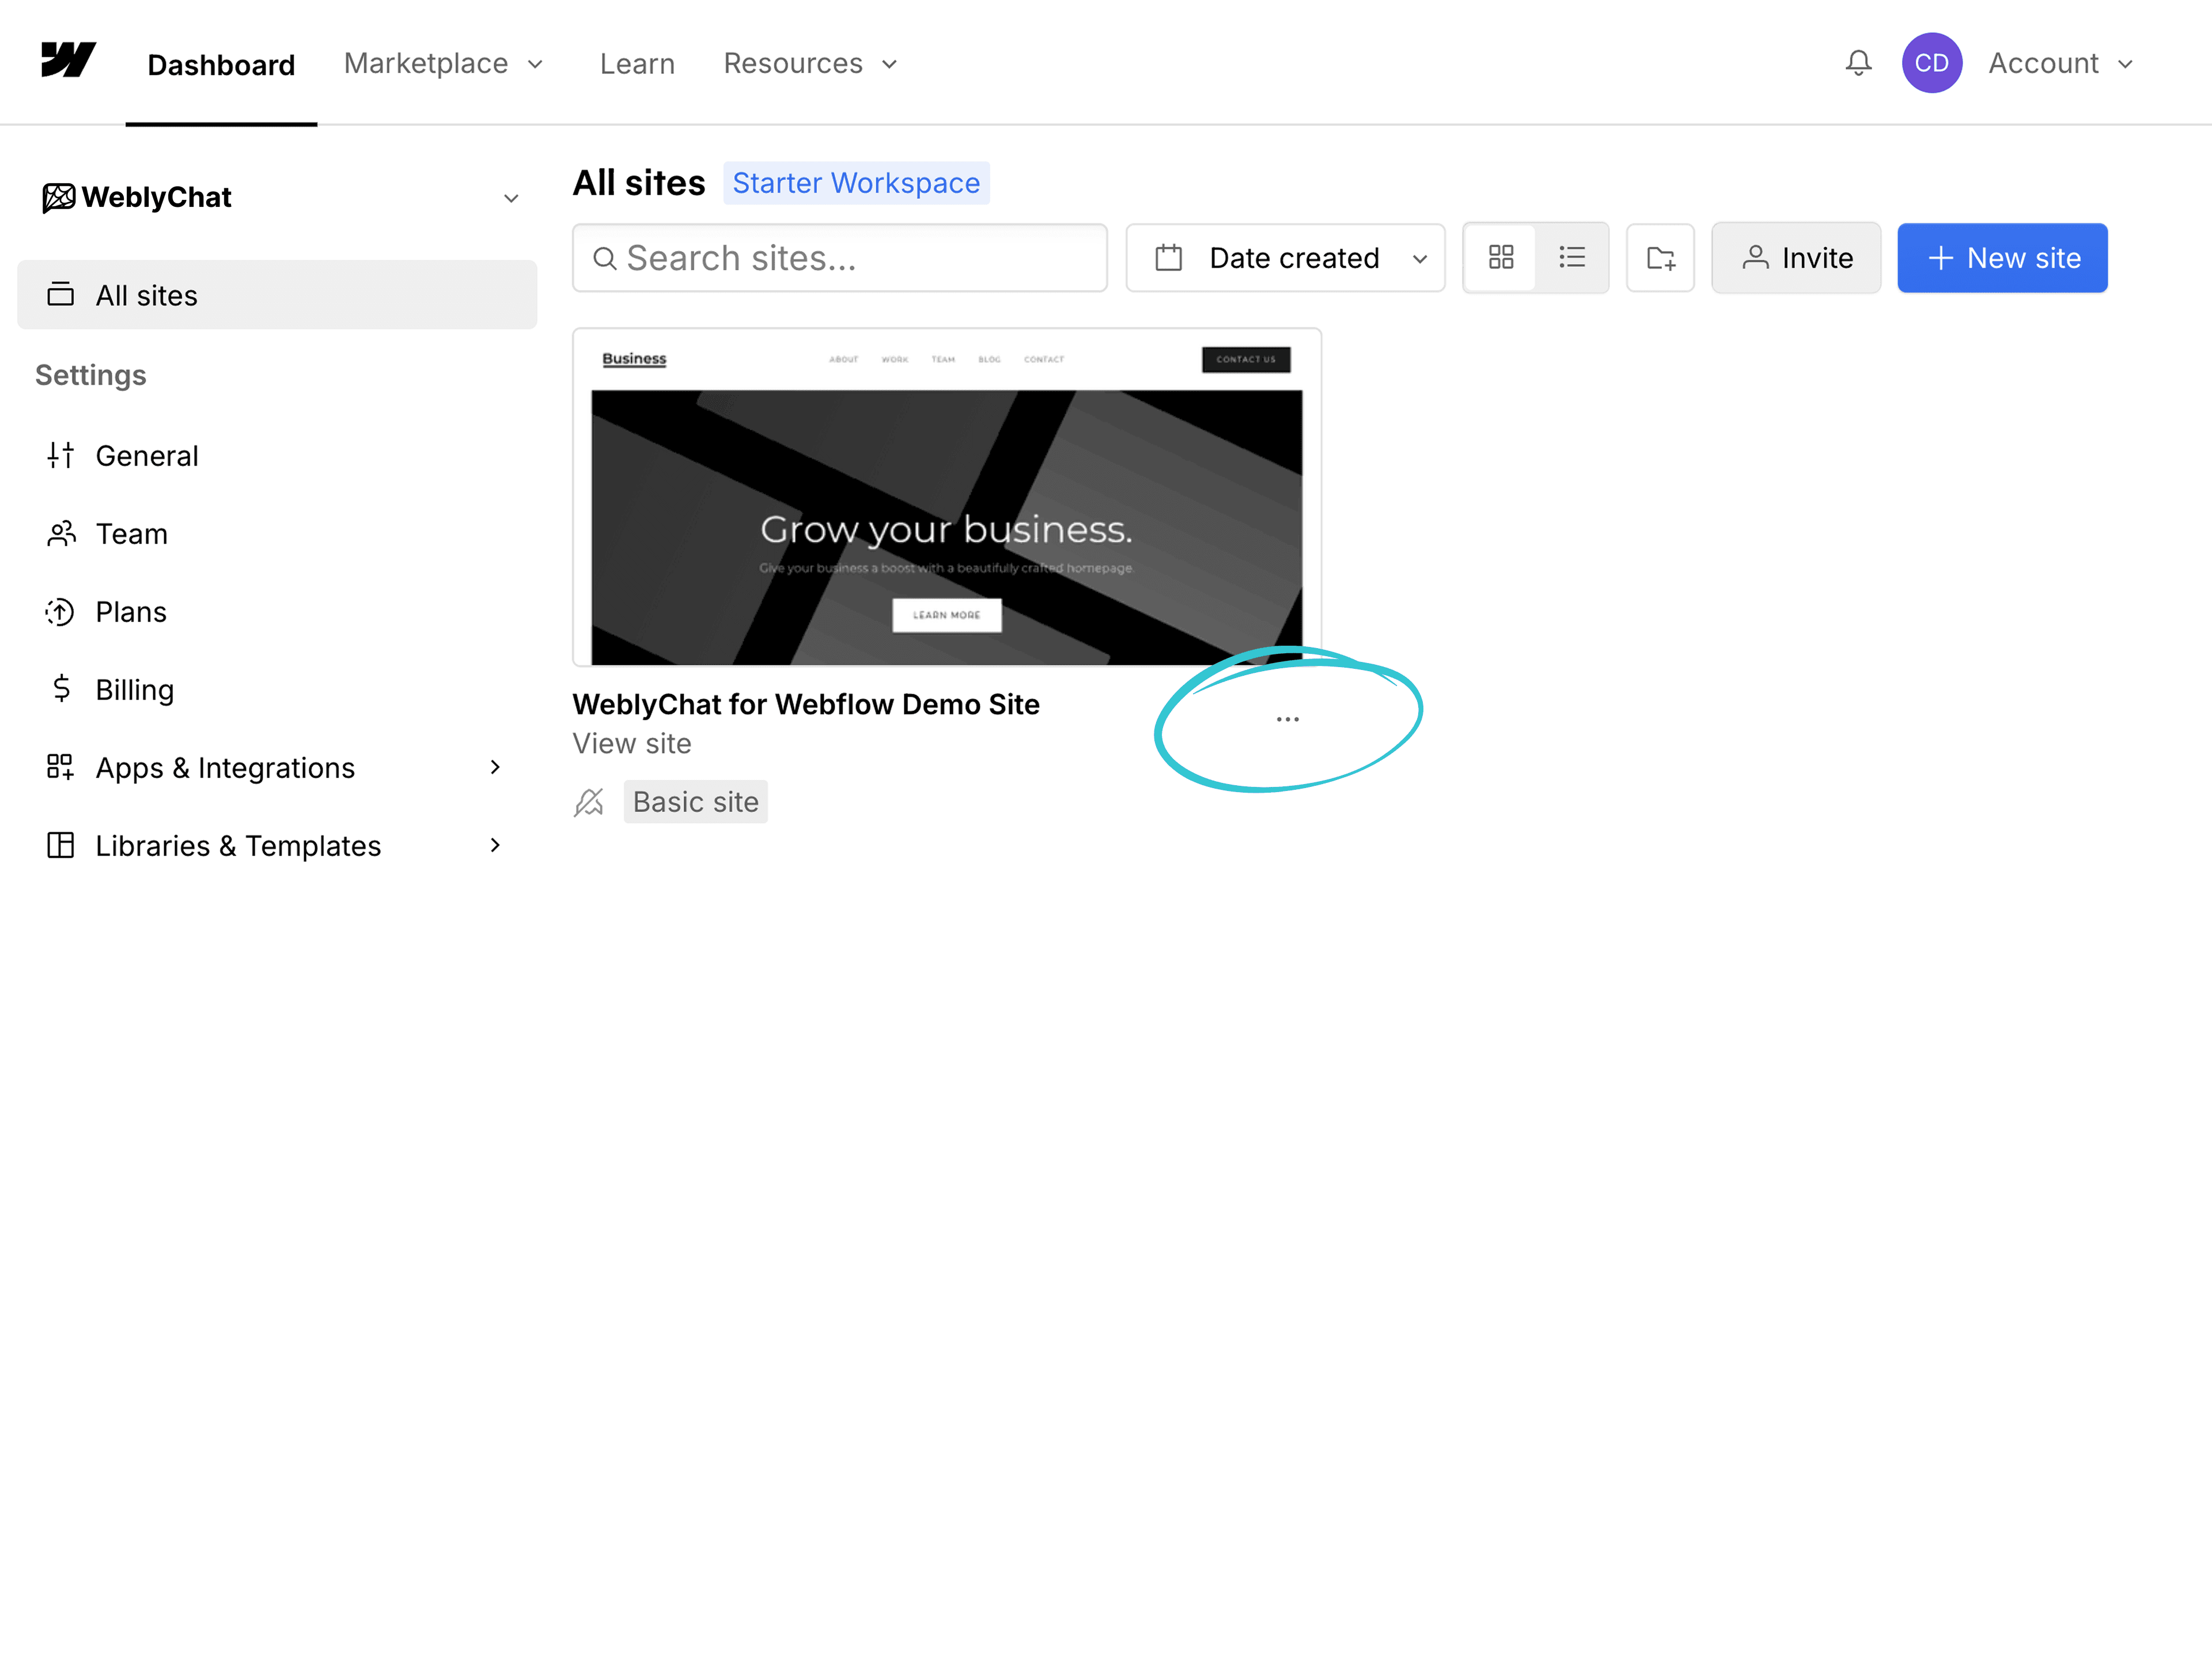
In your Webflow dashboard, find the site you want to add the chatbot to. Click the three-dot menu ("...") on the site card, then click Settings.
Go to Custom Code
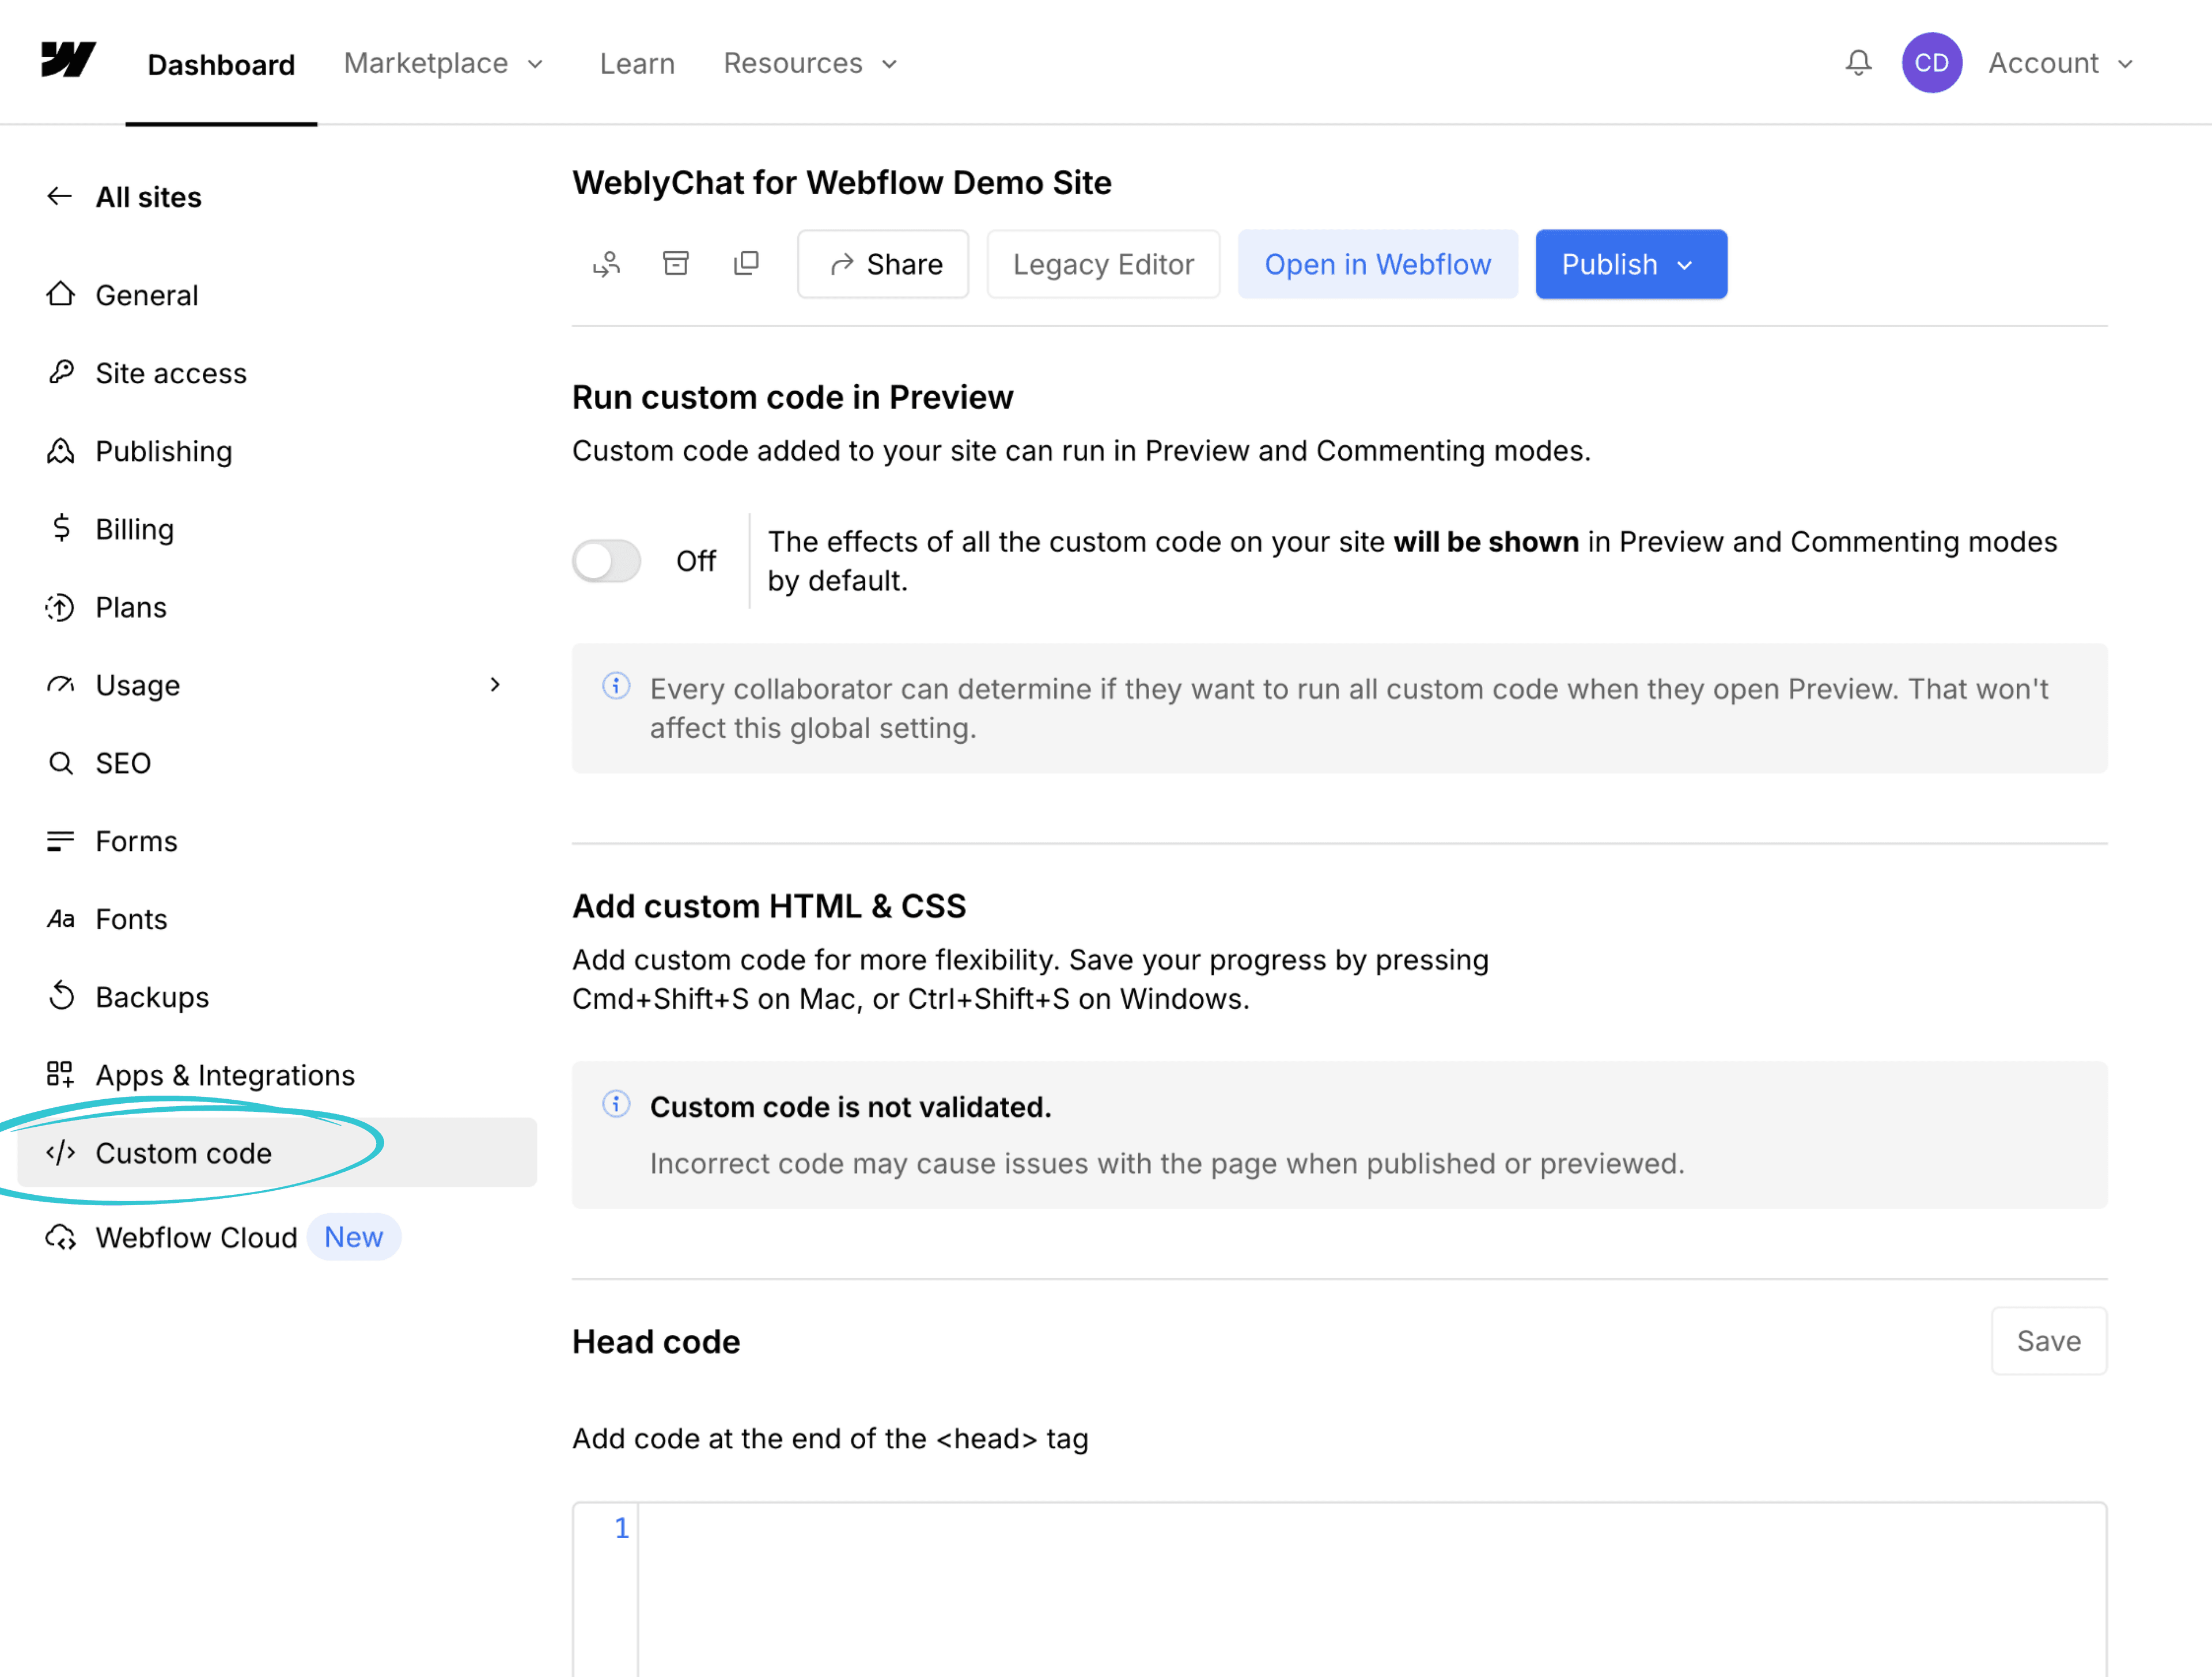
In the Site Settings sidebar, scroll down and click Custom Code.
Paste Into Footer Code
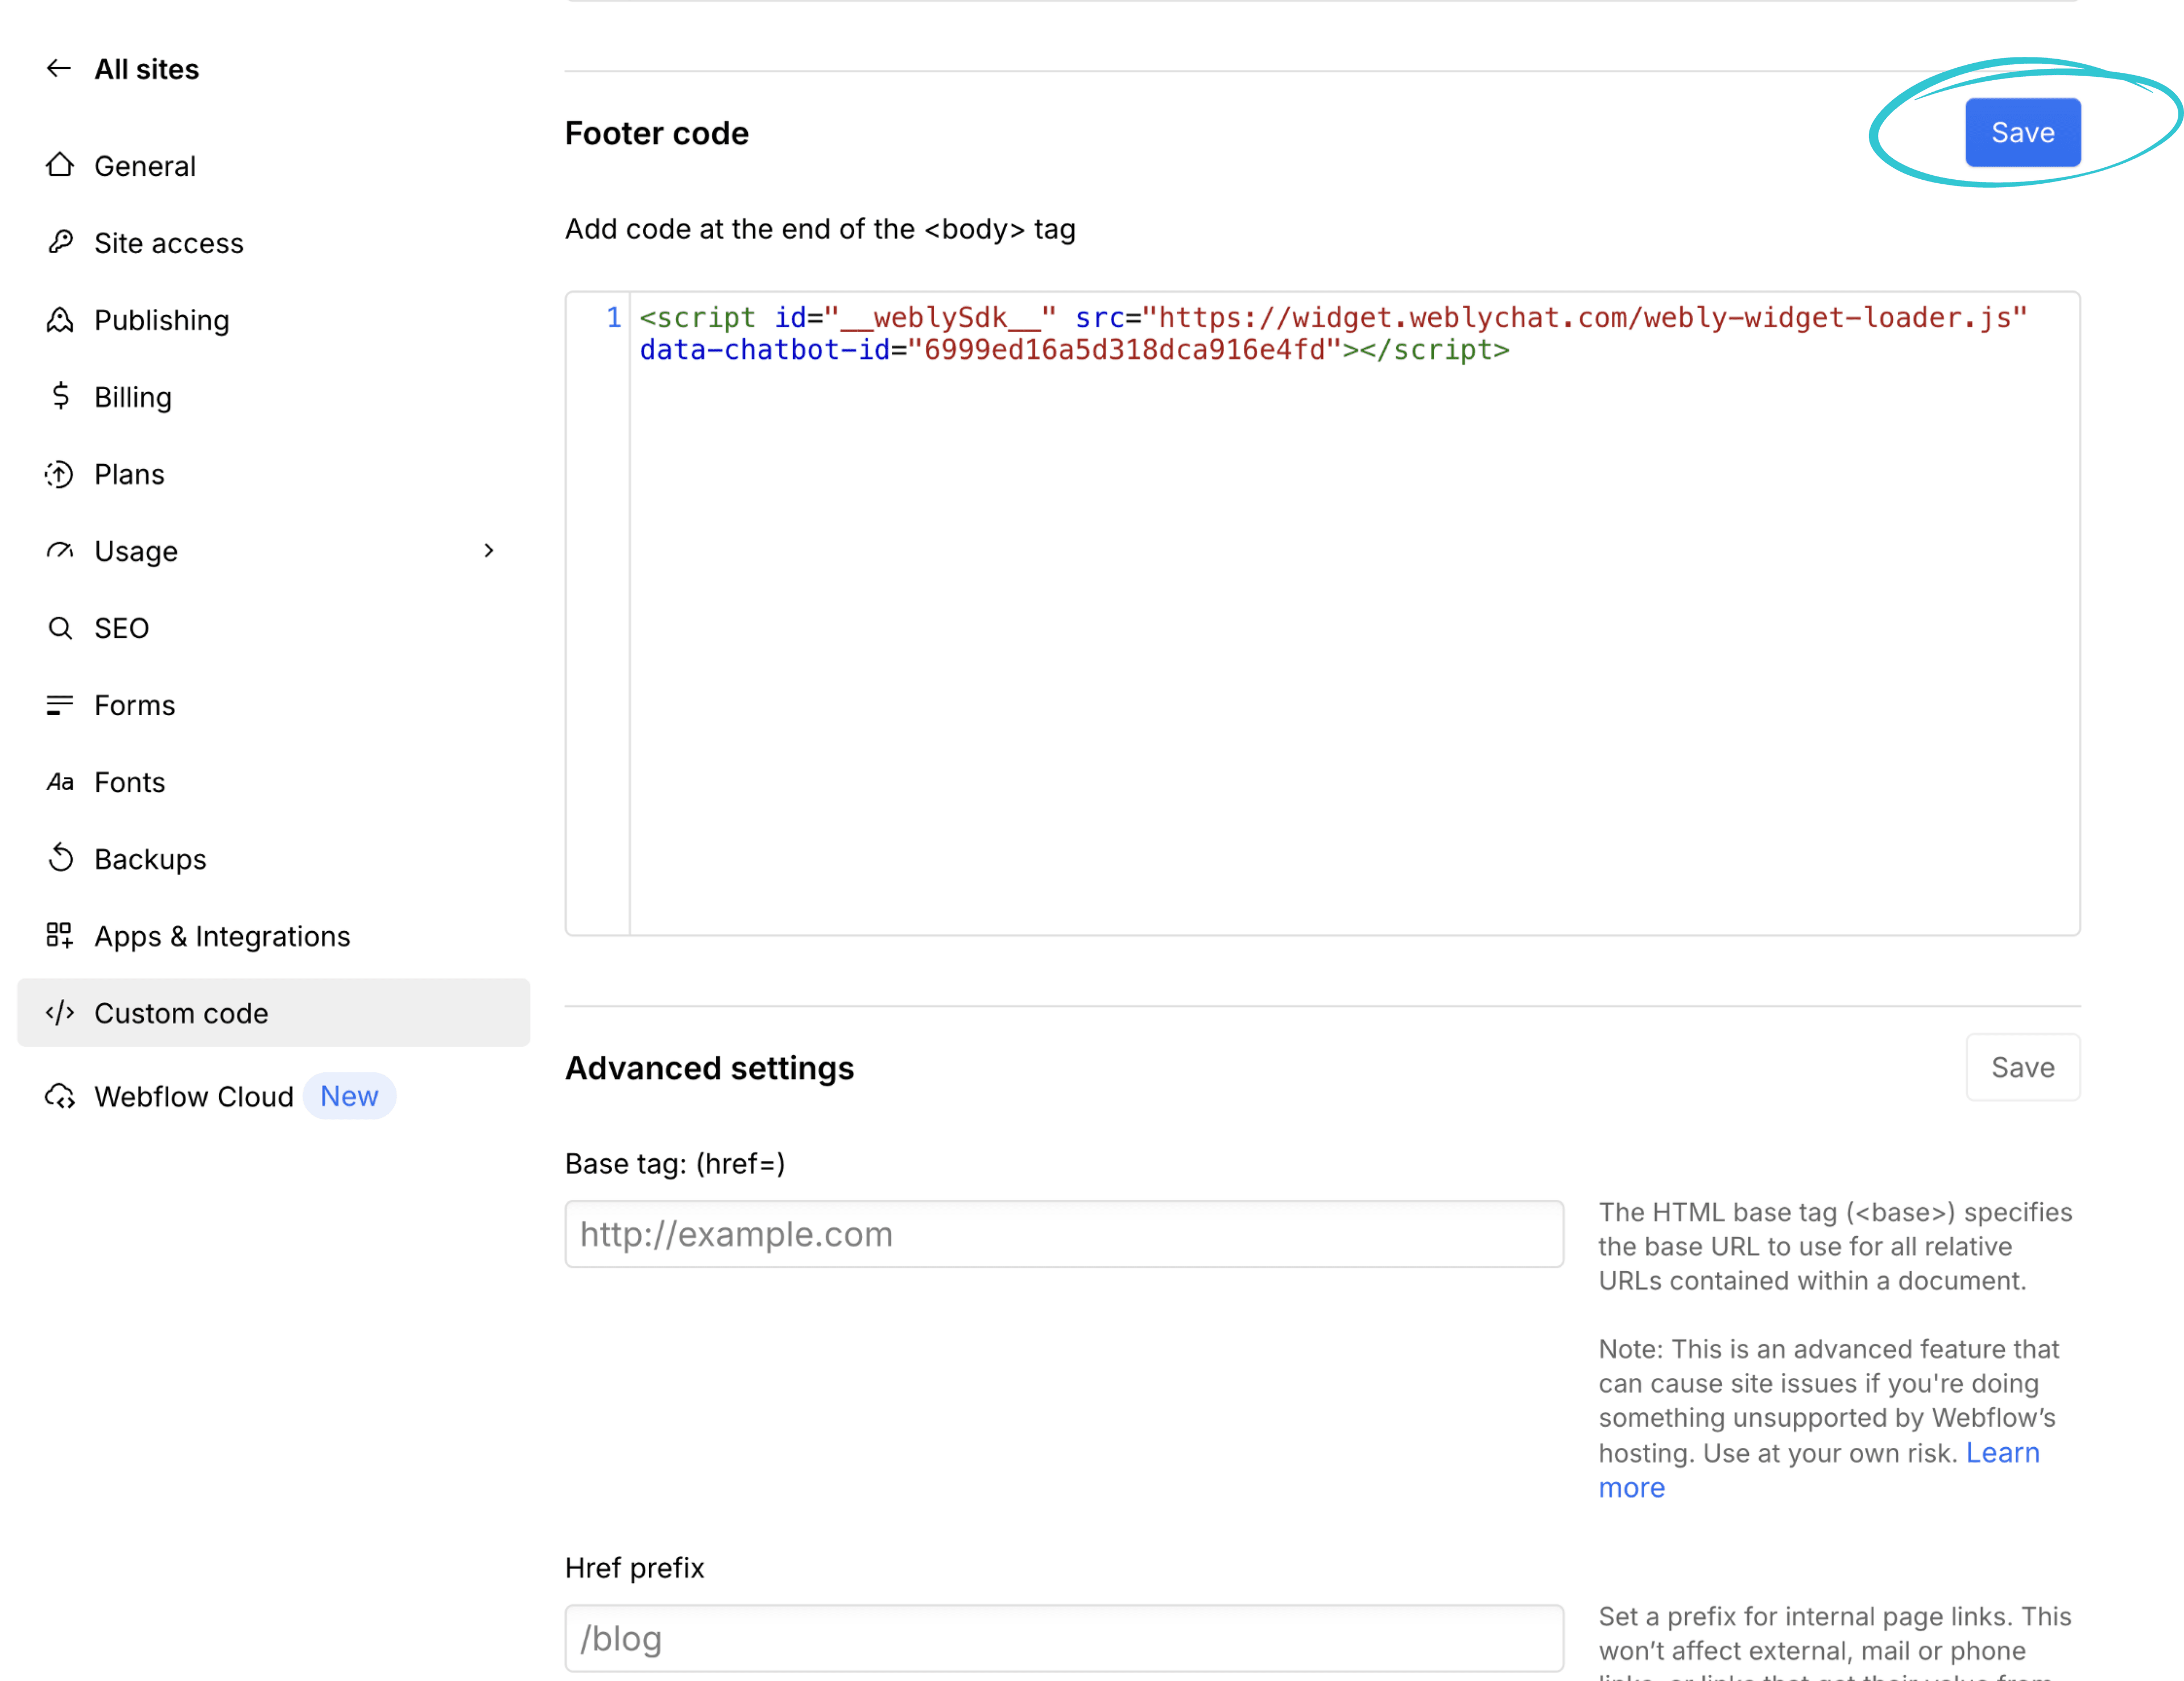
Scroll down to the Footer Code section. Paste your WeblyChat embed code into the text area, then click Save.
The Footer Code section adds your script to the end of the <body> tag on every page of your site, which is exactly where it needs to go.
Publish Your Site
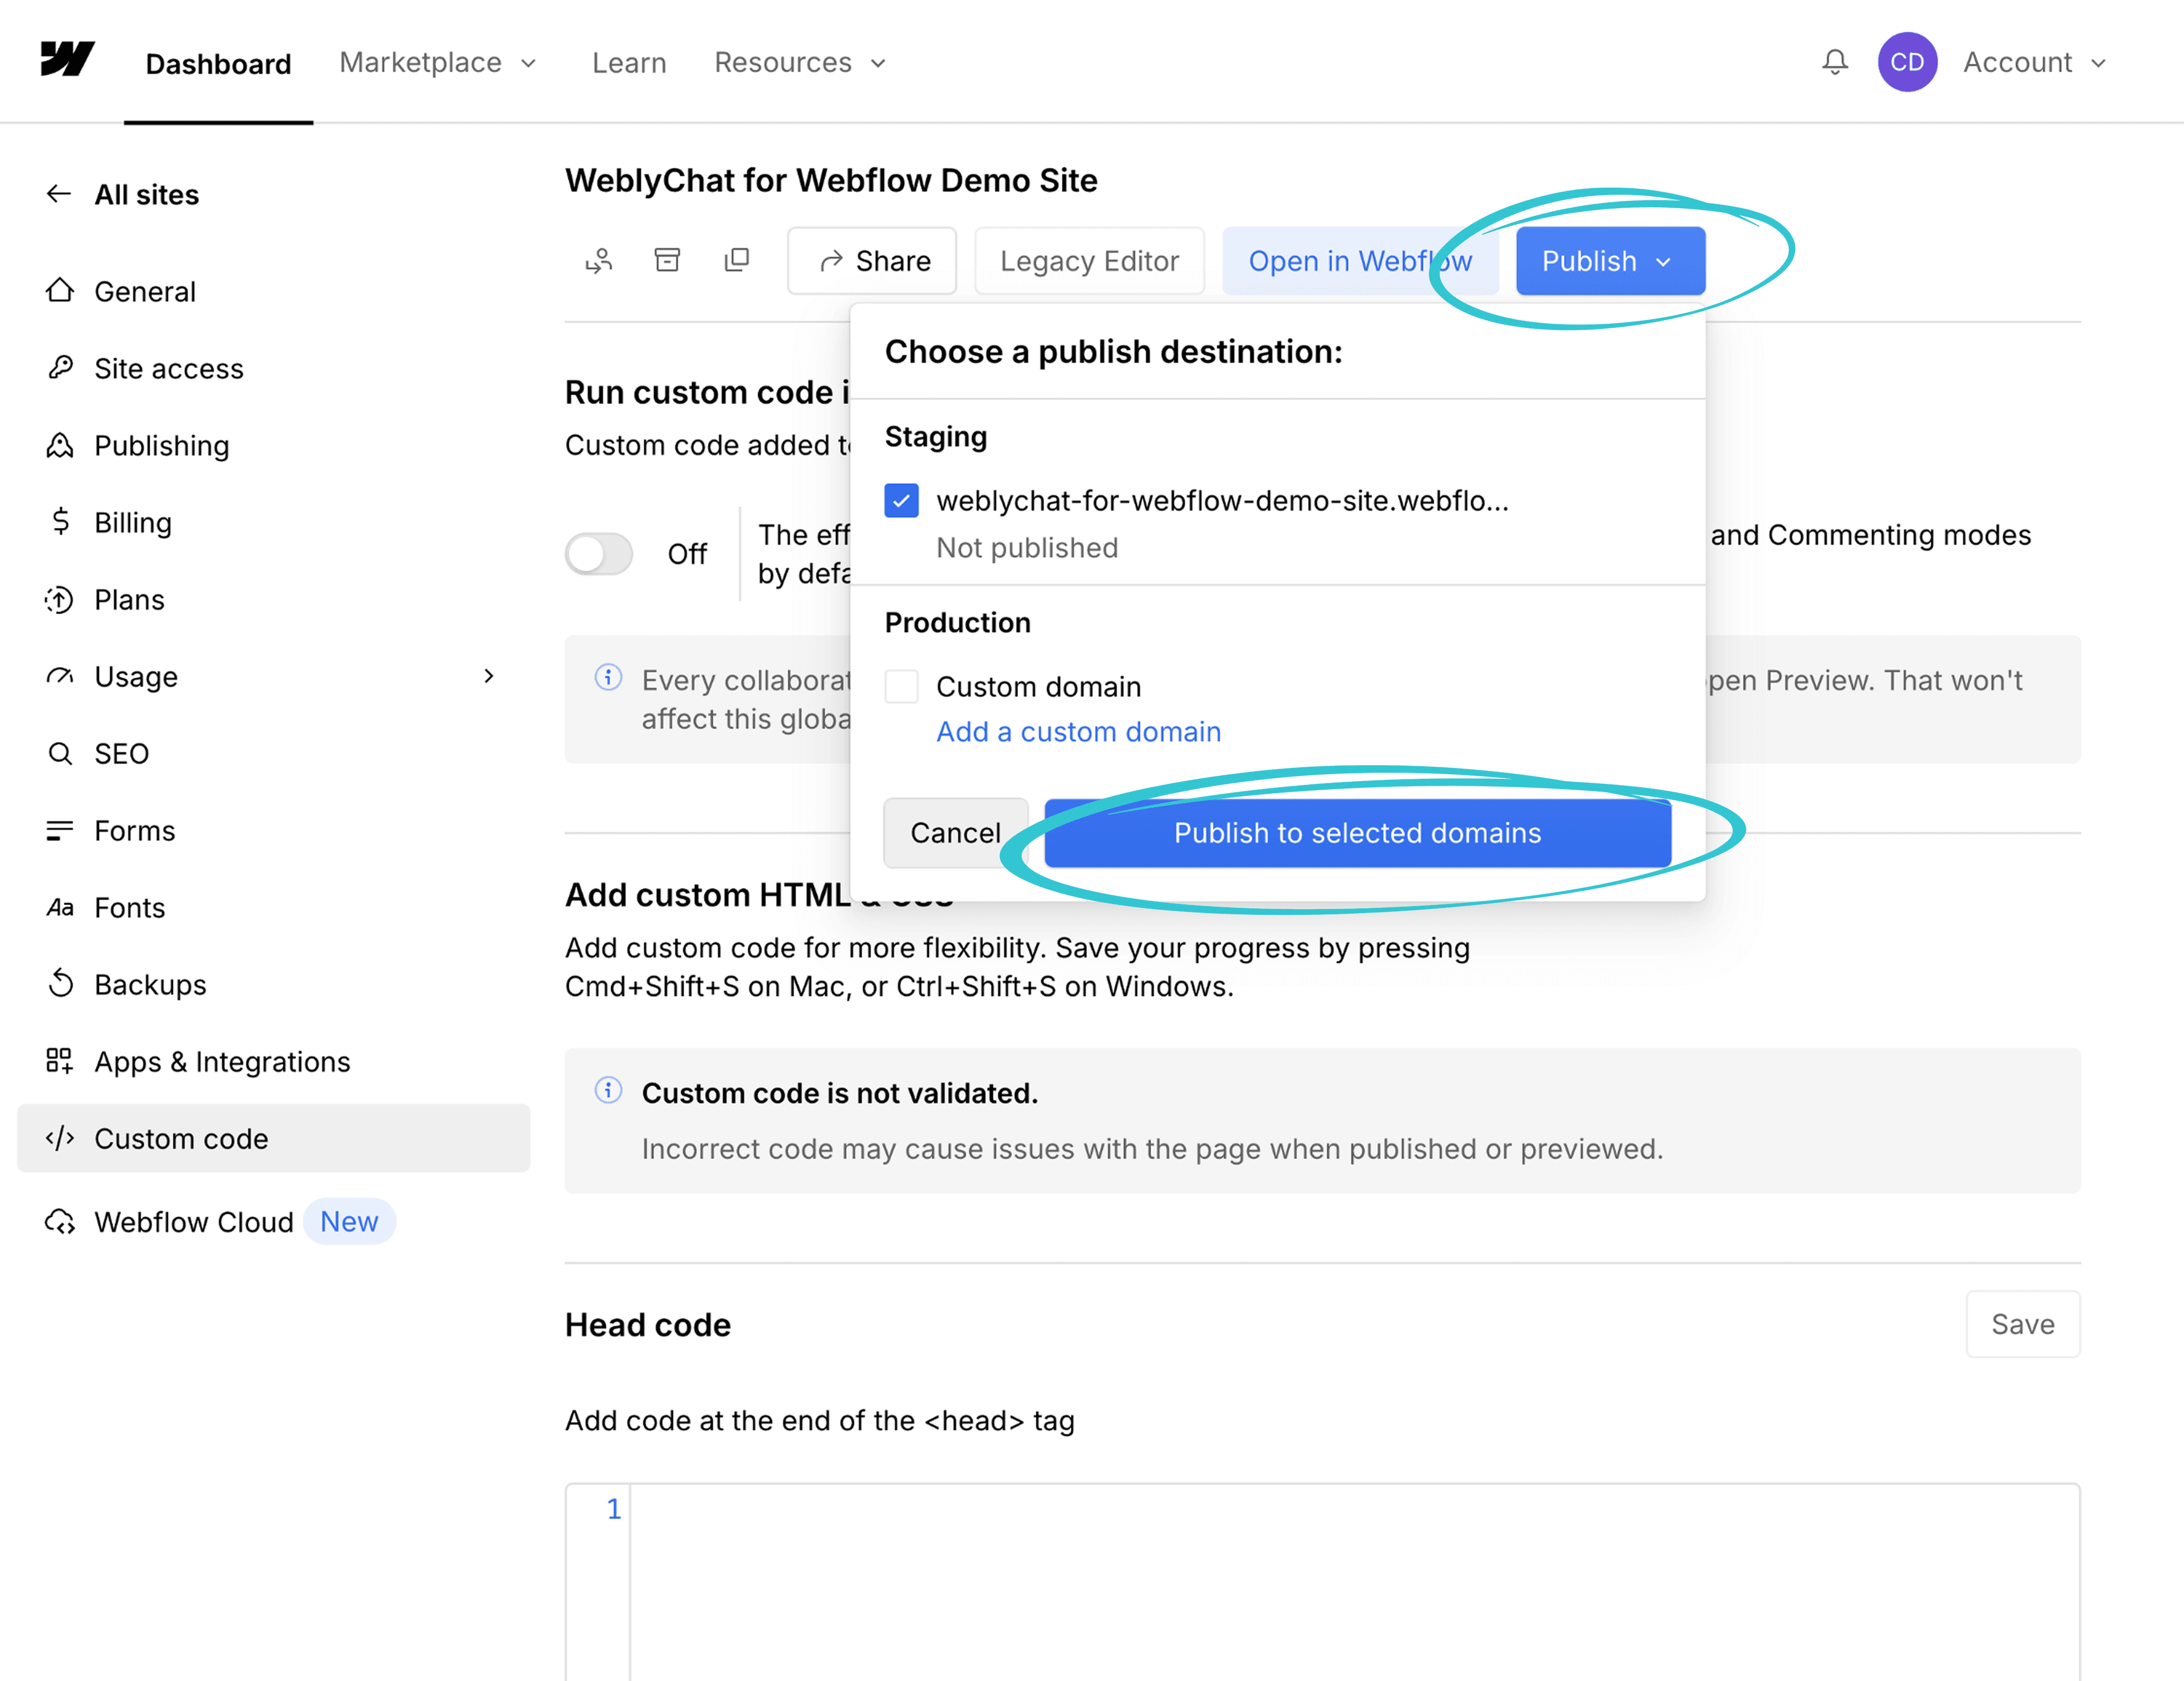
Scroll to the top of the page and click Publish. Select your domain and click Publish to selected domains.
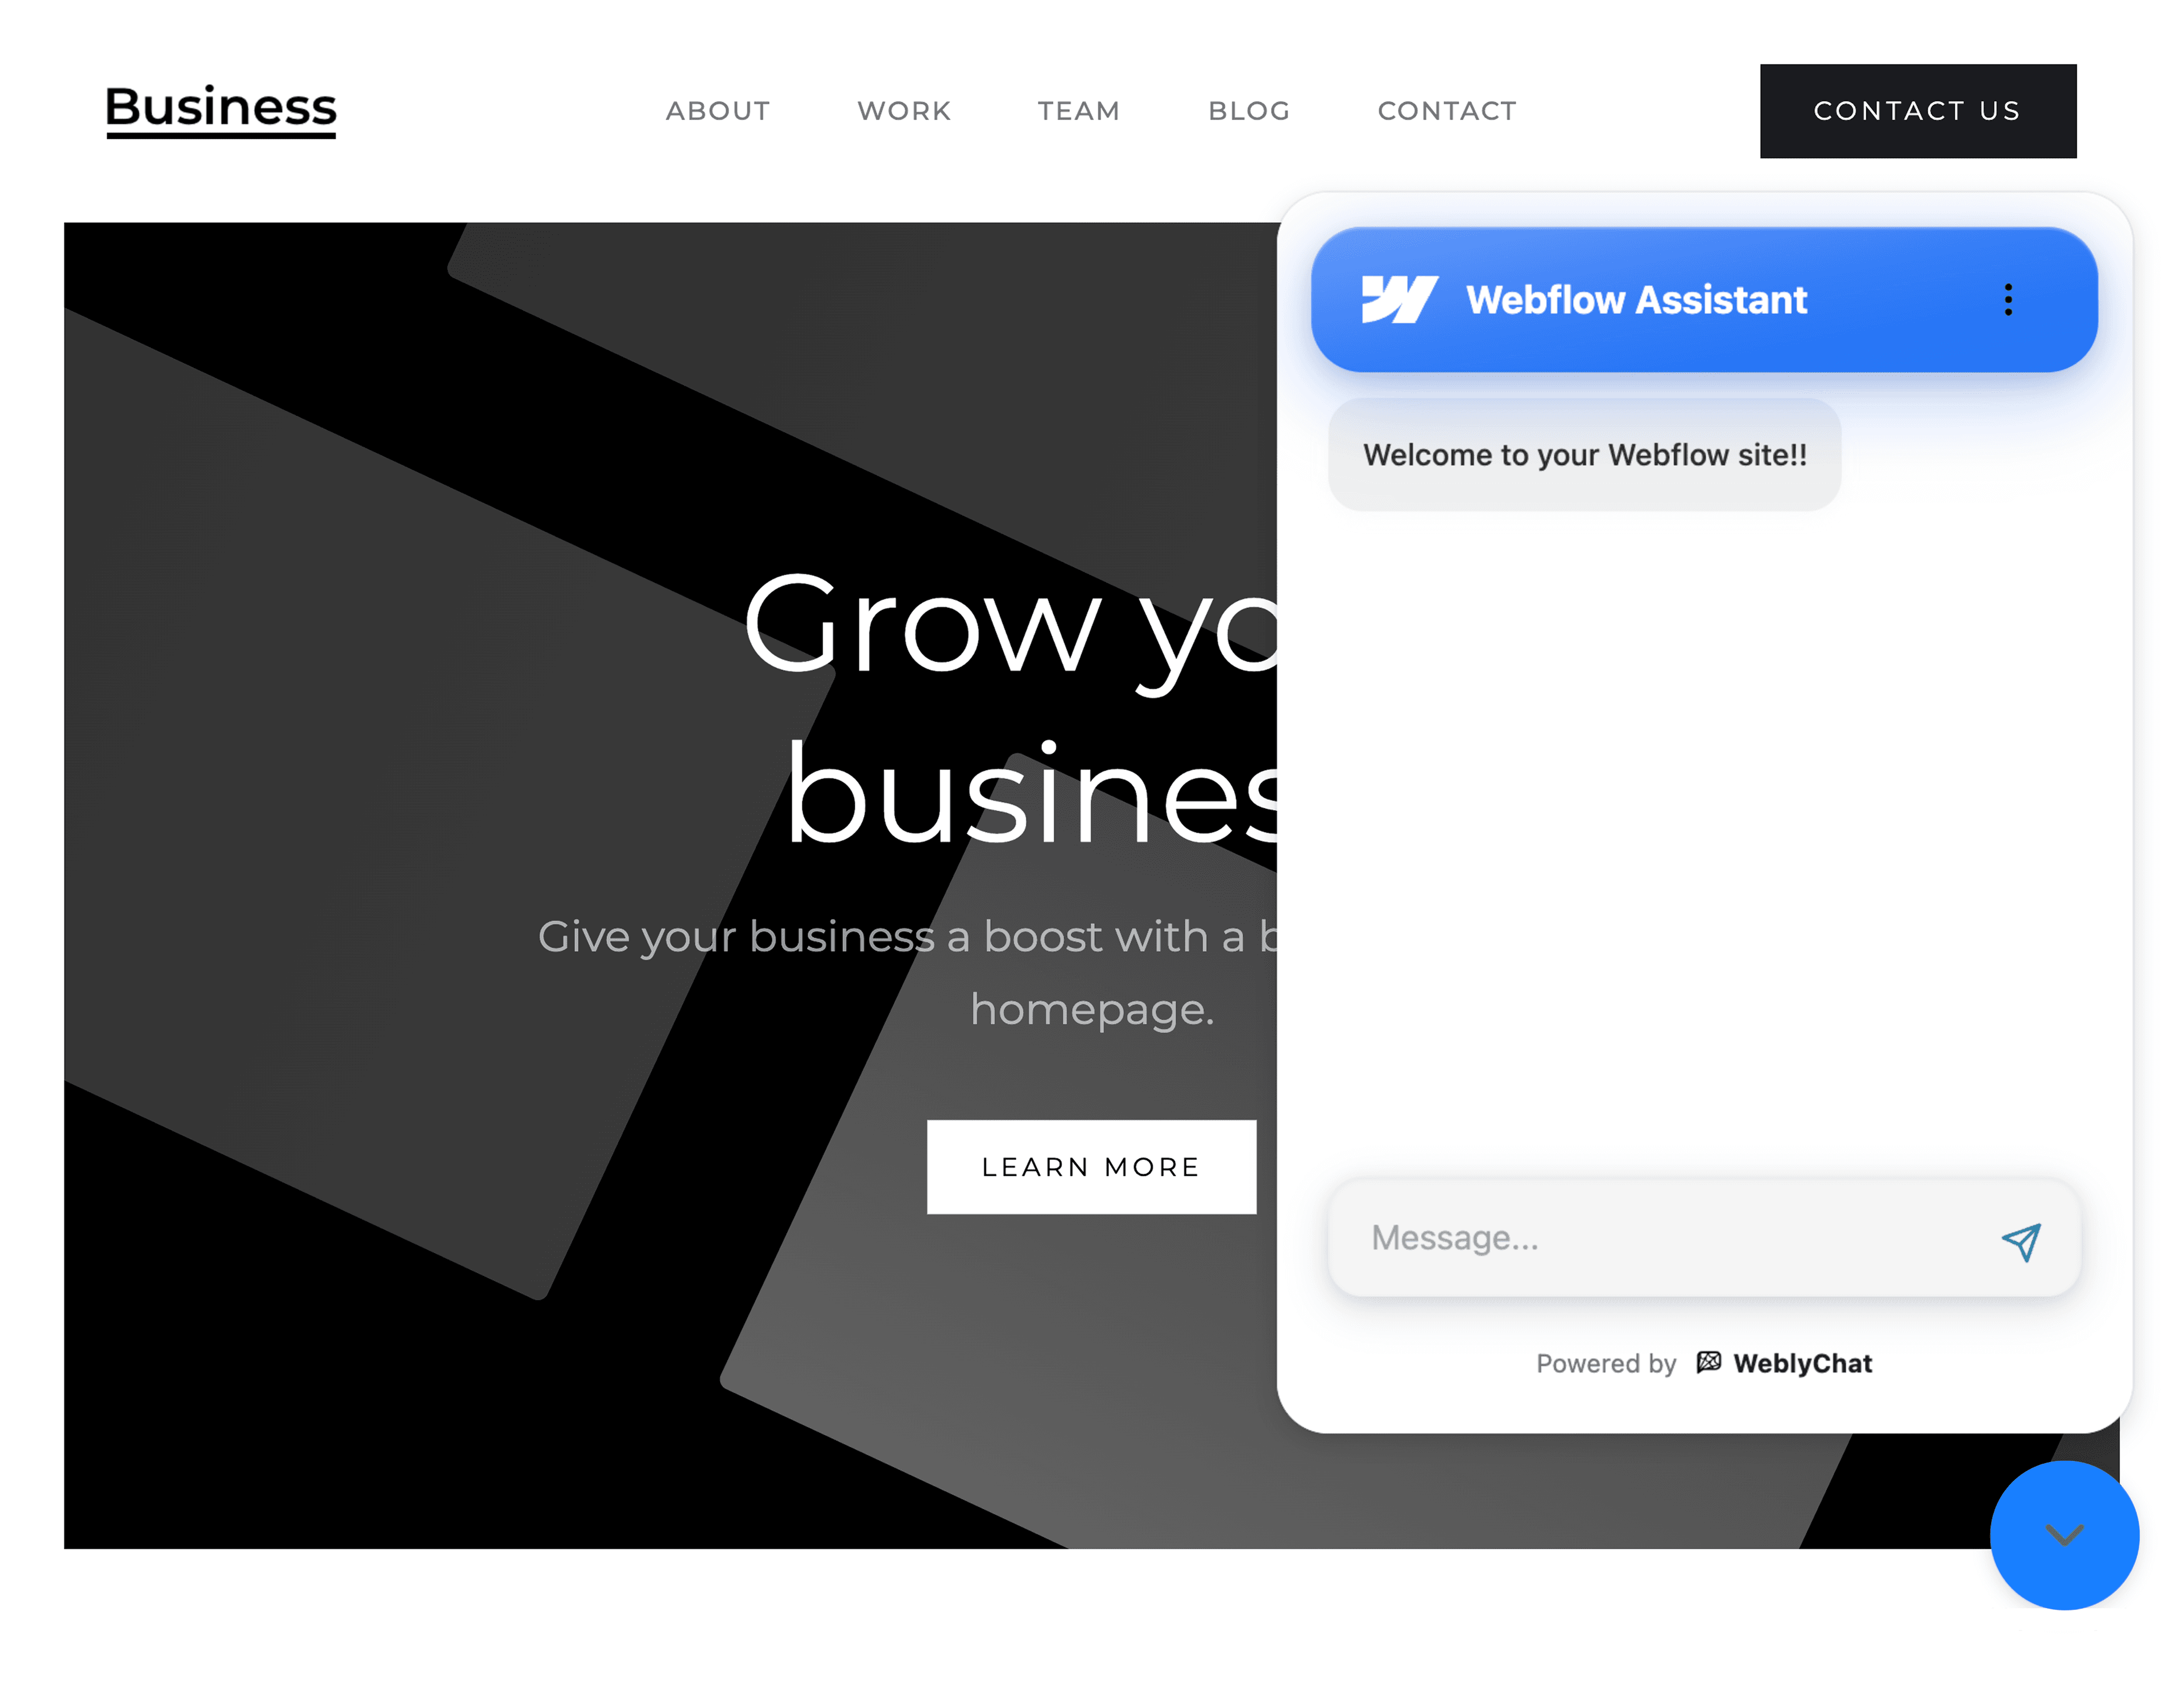
You Are Live
Visit your live Webflow site and you should see the chatbot widget in the corner. Make sure you have clicked Publish before checking. The chatbot will not appear until your site has been republished with the new code.
Any changes you make in your WeblyChat dashboard (colors, welcome message, training data) update instantly without touching Webflow again. You only paste the code once.
Custom Code is available on Webflow Basic, CMS, Business, and Enterprise plans. The free Webflow plan does not support custom code injection.
Still stuck?
We're happy to help you get set up.