How to Add a Chatbot to Your WordPress Website
To add a chatbot to WordPress, sign up for WeblyChat, enter your site URL to train the AI, then paste one code snippet into the Header section using the free WPCode plugin. The chatbot goes live in under 5 minutes and works on any WordPress theme, hosting provider, or page builder.
Here is the full WordPress chatbot setup walkthrough with every click explained, so you can follow along with both your WeblyChat and WordPress dashboards open.
1. Create Your WeblyChat Account
Go to WeblyChat and sign up for a free account. You will be asked for two things:
- Chatbot Name: The name your chatbot responds as. For a WordPress business site, something like "[Your Business] Assistant" works well. Visitors see this name in the chat header.
- Organization Name: Your business or organization name. This gives the AI context about who it represents when answering visitor questions.
2. Train the AI on Your WordPress Content
Go to Sources and paste your WordPress site URL. The AI crawls every published page, blog post, WooCommerce product, and custom post type on your site. Whether your content is built with Gutenberg blocks, Elementor layouts, or the Classic Editor, the crawler reads it all. This is what separates a WordPress AI chatbot from a generic chat widget. It answers using your actual content, not canned responses.
You can also upload PDFs, documents, or add custom Q&A pairs for anything not published on your site, like internal pricing sheets or policies.
3. Customize the Widget to Match Your WordPress Theme
Open the Builder page to style your chatbot. You can match the colors of whatever WordPress theme you are running, whether that is Astra, Divi, GeneratePress, or a custom theme. Upload your logo, write a welcome message, set suggested prompts, and adjust the widget position. The defaults look good out of the box, so you can skip this and come back later.
The Builder also includes a live preview. Test it by asking questions about your business. Make sure the AI is pulling the right answers from your WordPress content before you go live.
4. Copy Your Embed Code
Go to Add to Site in your WeblyChat dashboard. You will see a single <script> tag. Click the copy button. This one snippet is all you need, and it works the same on any WordPress hosting provider, theme, or page builder.
5. Install the WPCode Plugin
This is the recommended way to add the chatbot to your WordPress site. WPCode is a free utility plugin with over 2 million active installs that lets you safely add code snippets to your site without editing theme files.
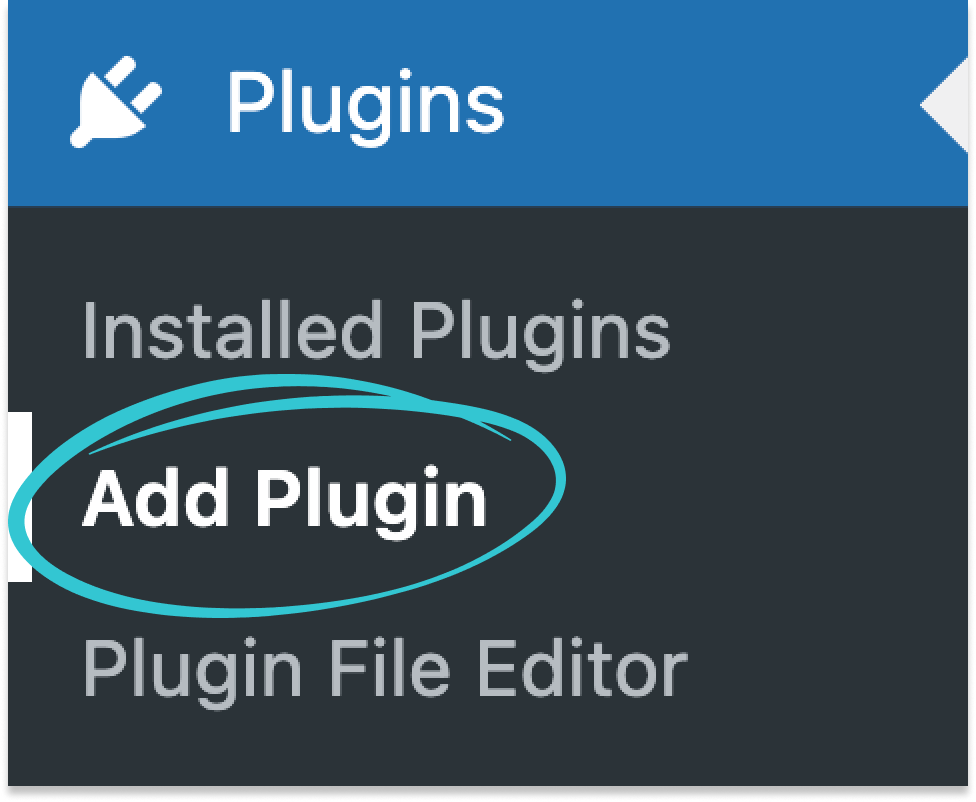
1. In your WordPress dashboard, click Plugins in the sidebar, then click Add Plugin
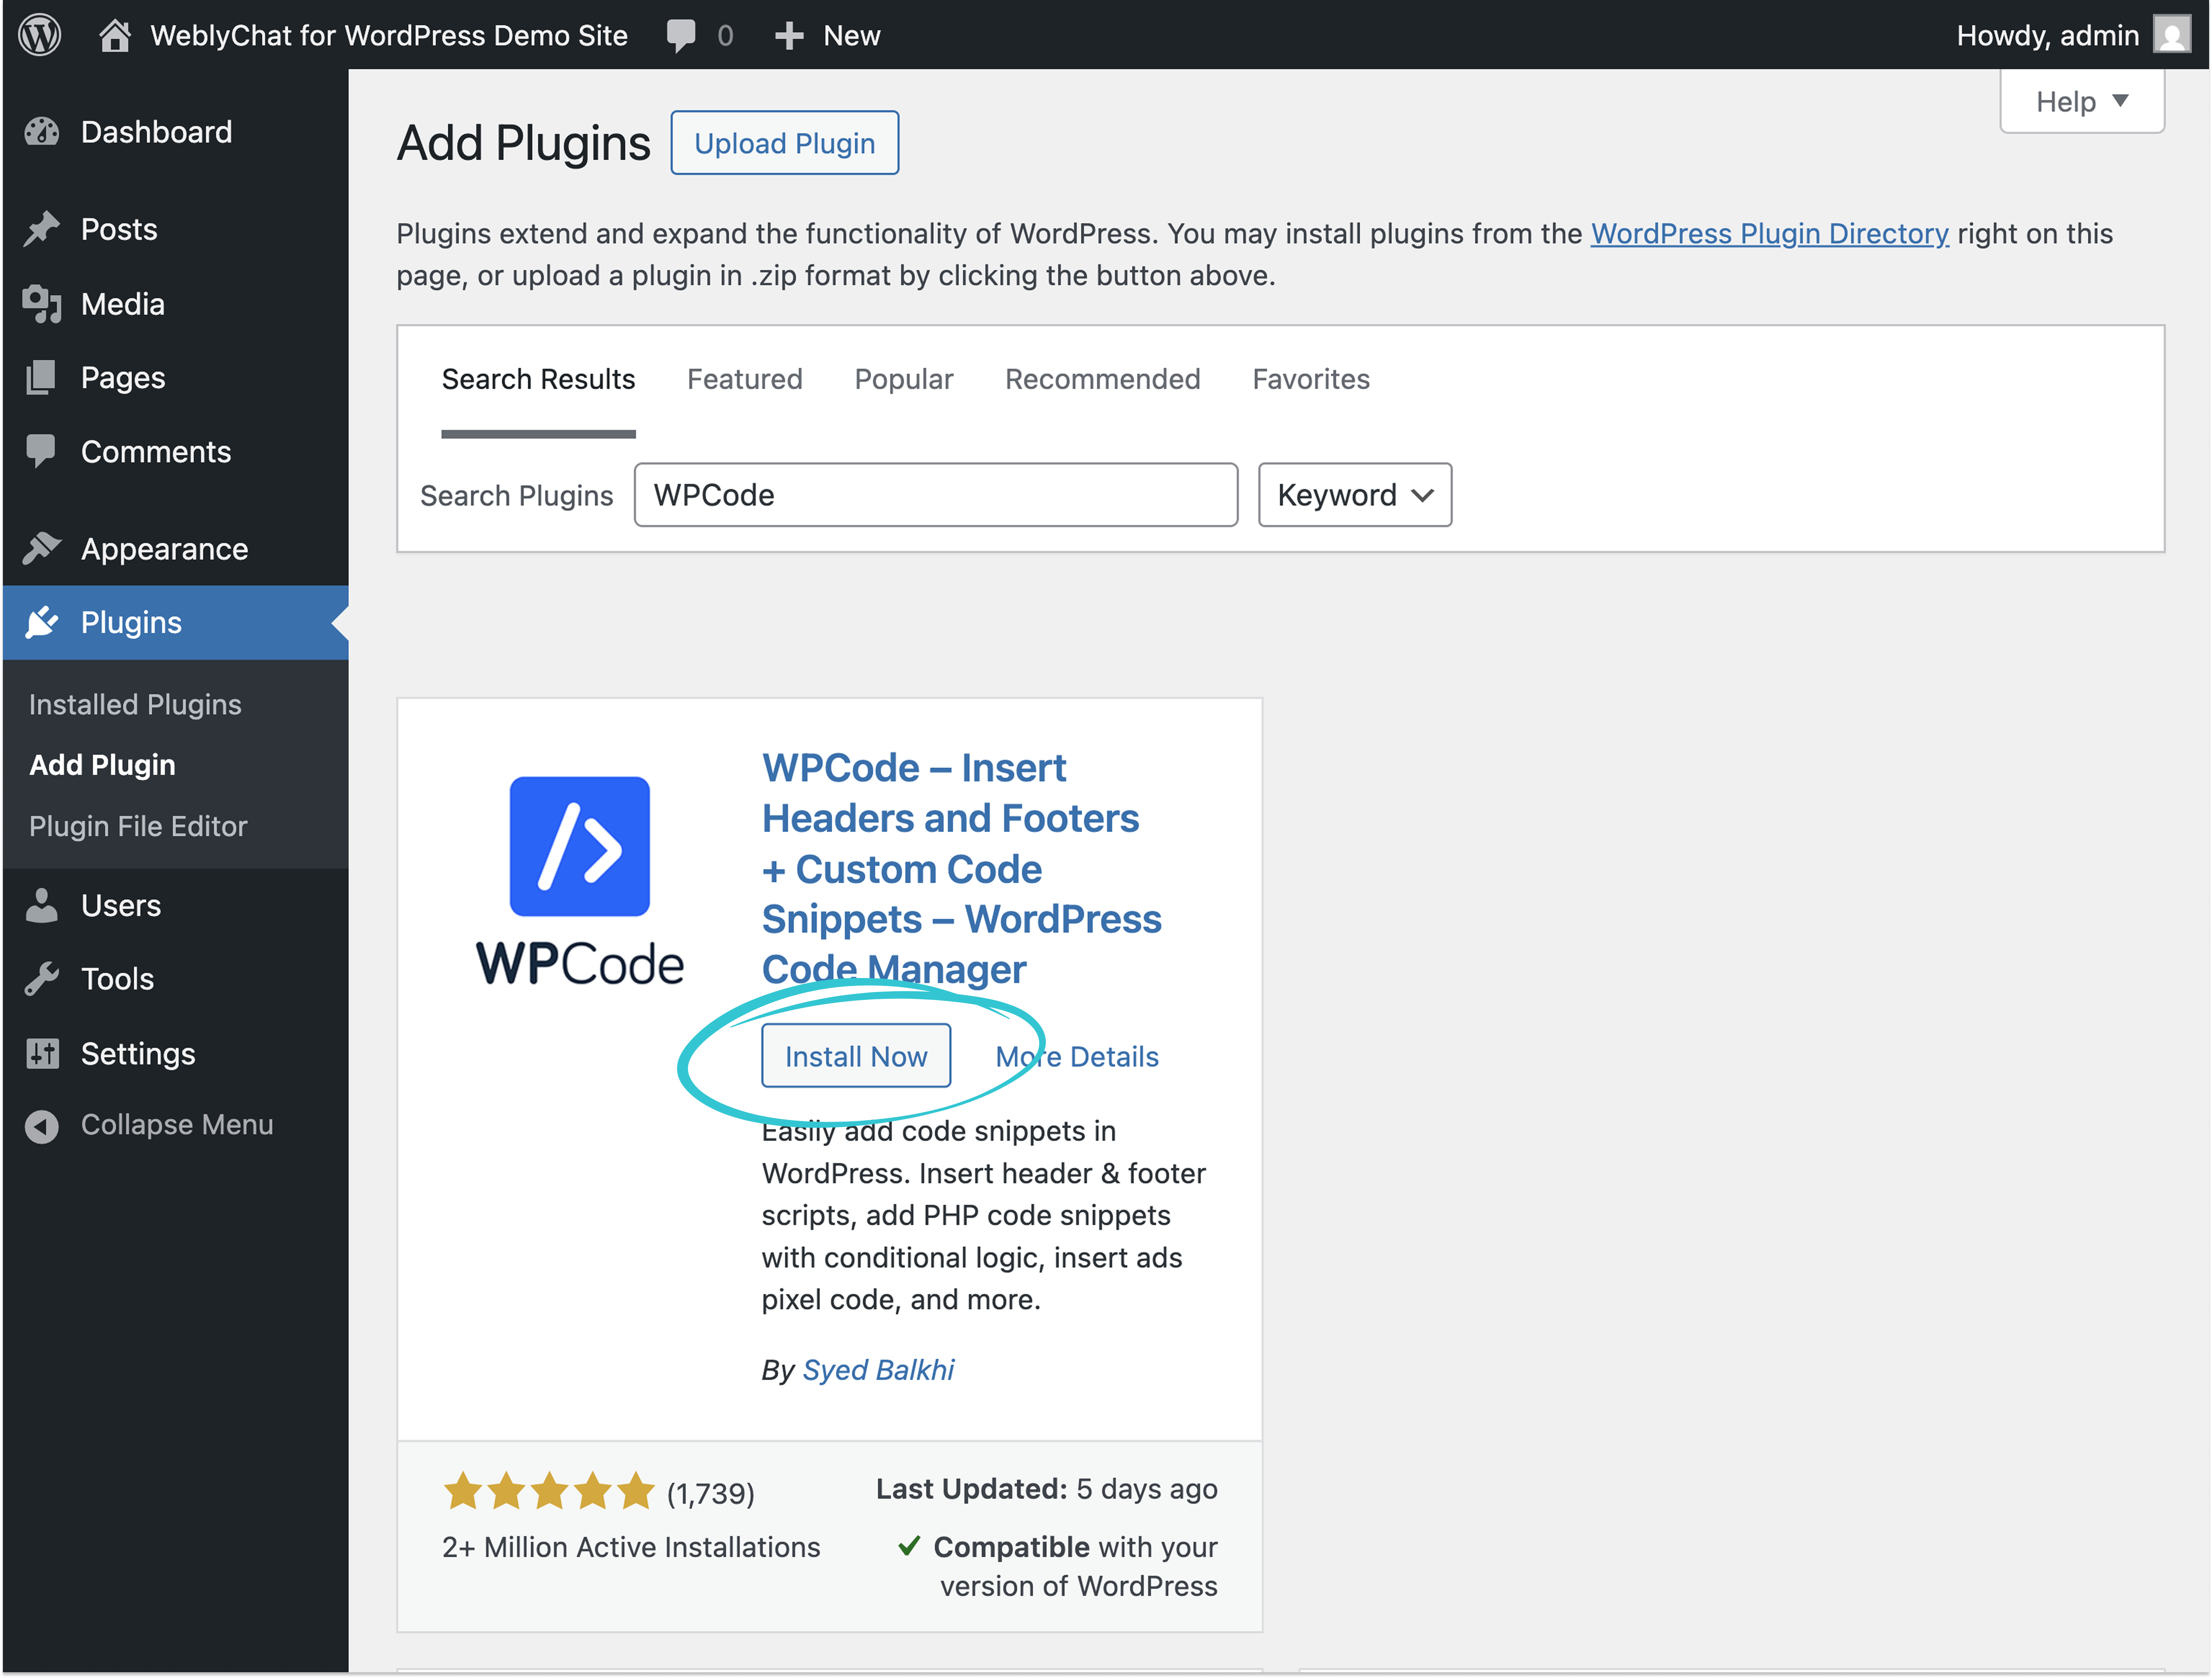
2. In the search bar, type WPCode
3. Find WPCode in the results and click Install Now
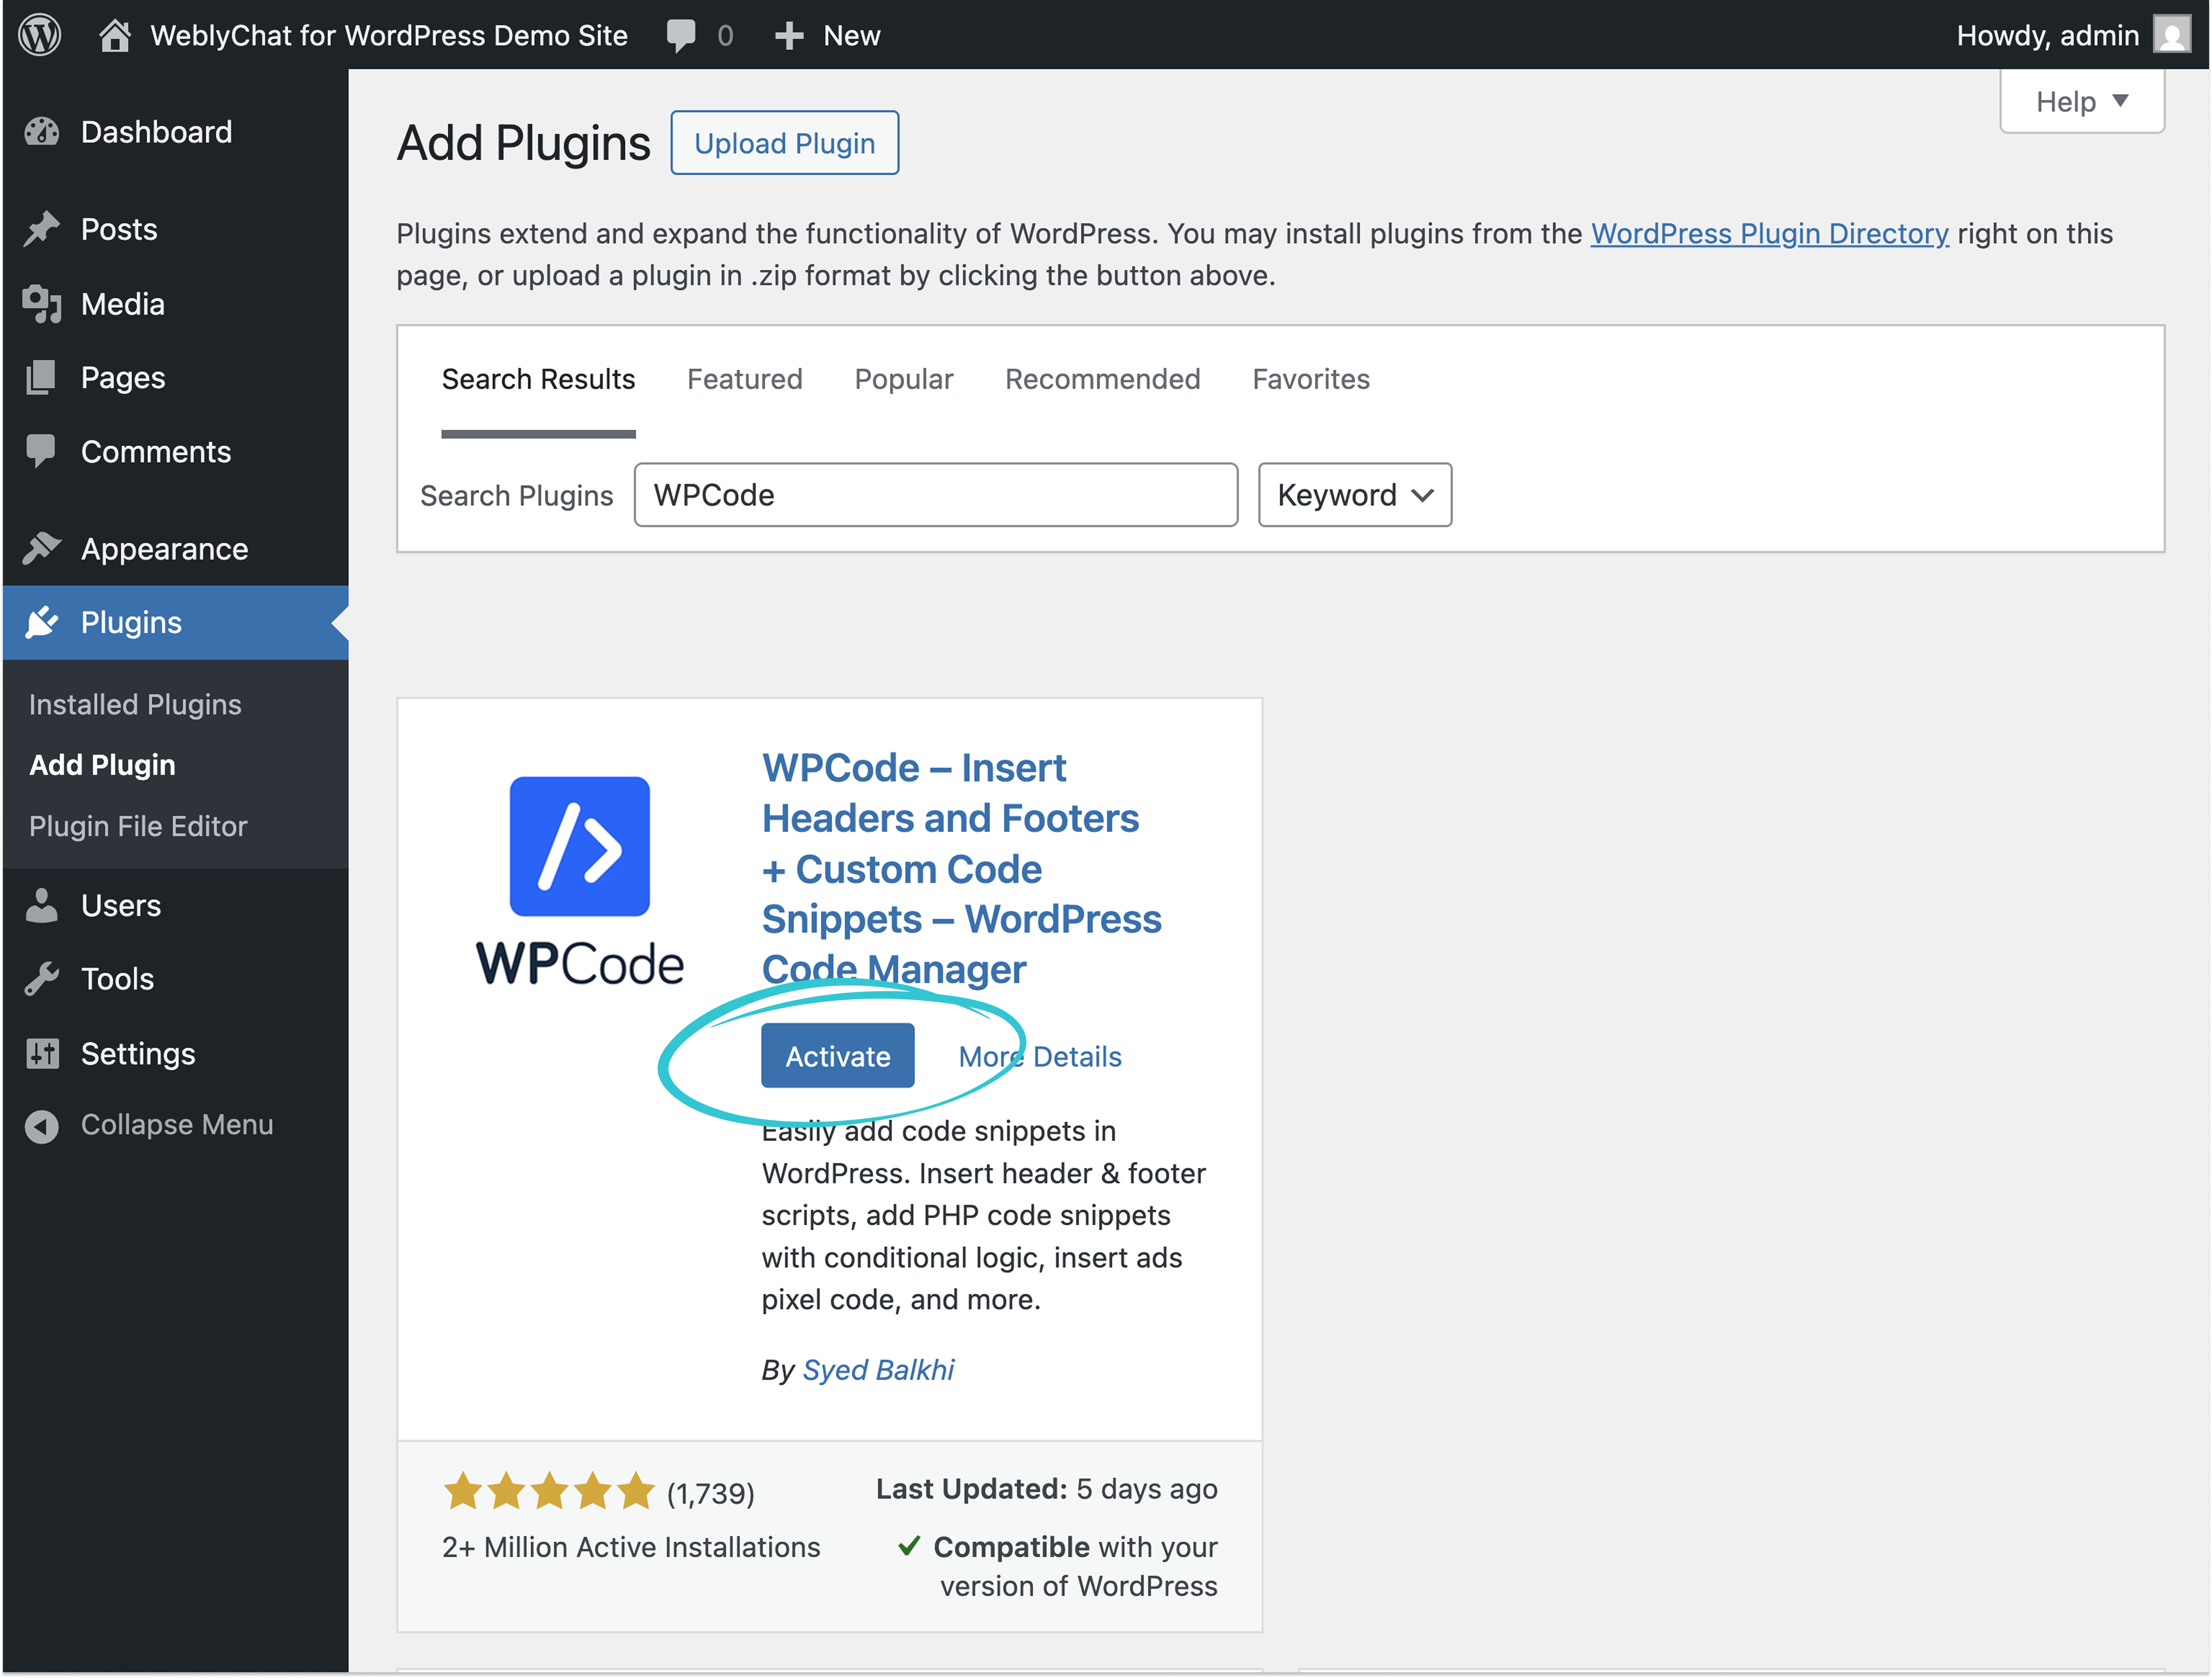
4. Once installed, click Activate
You will be taken to the Installed Plugins page where you can confirm WPCode is active.
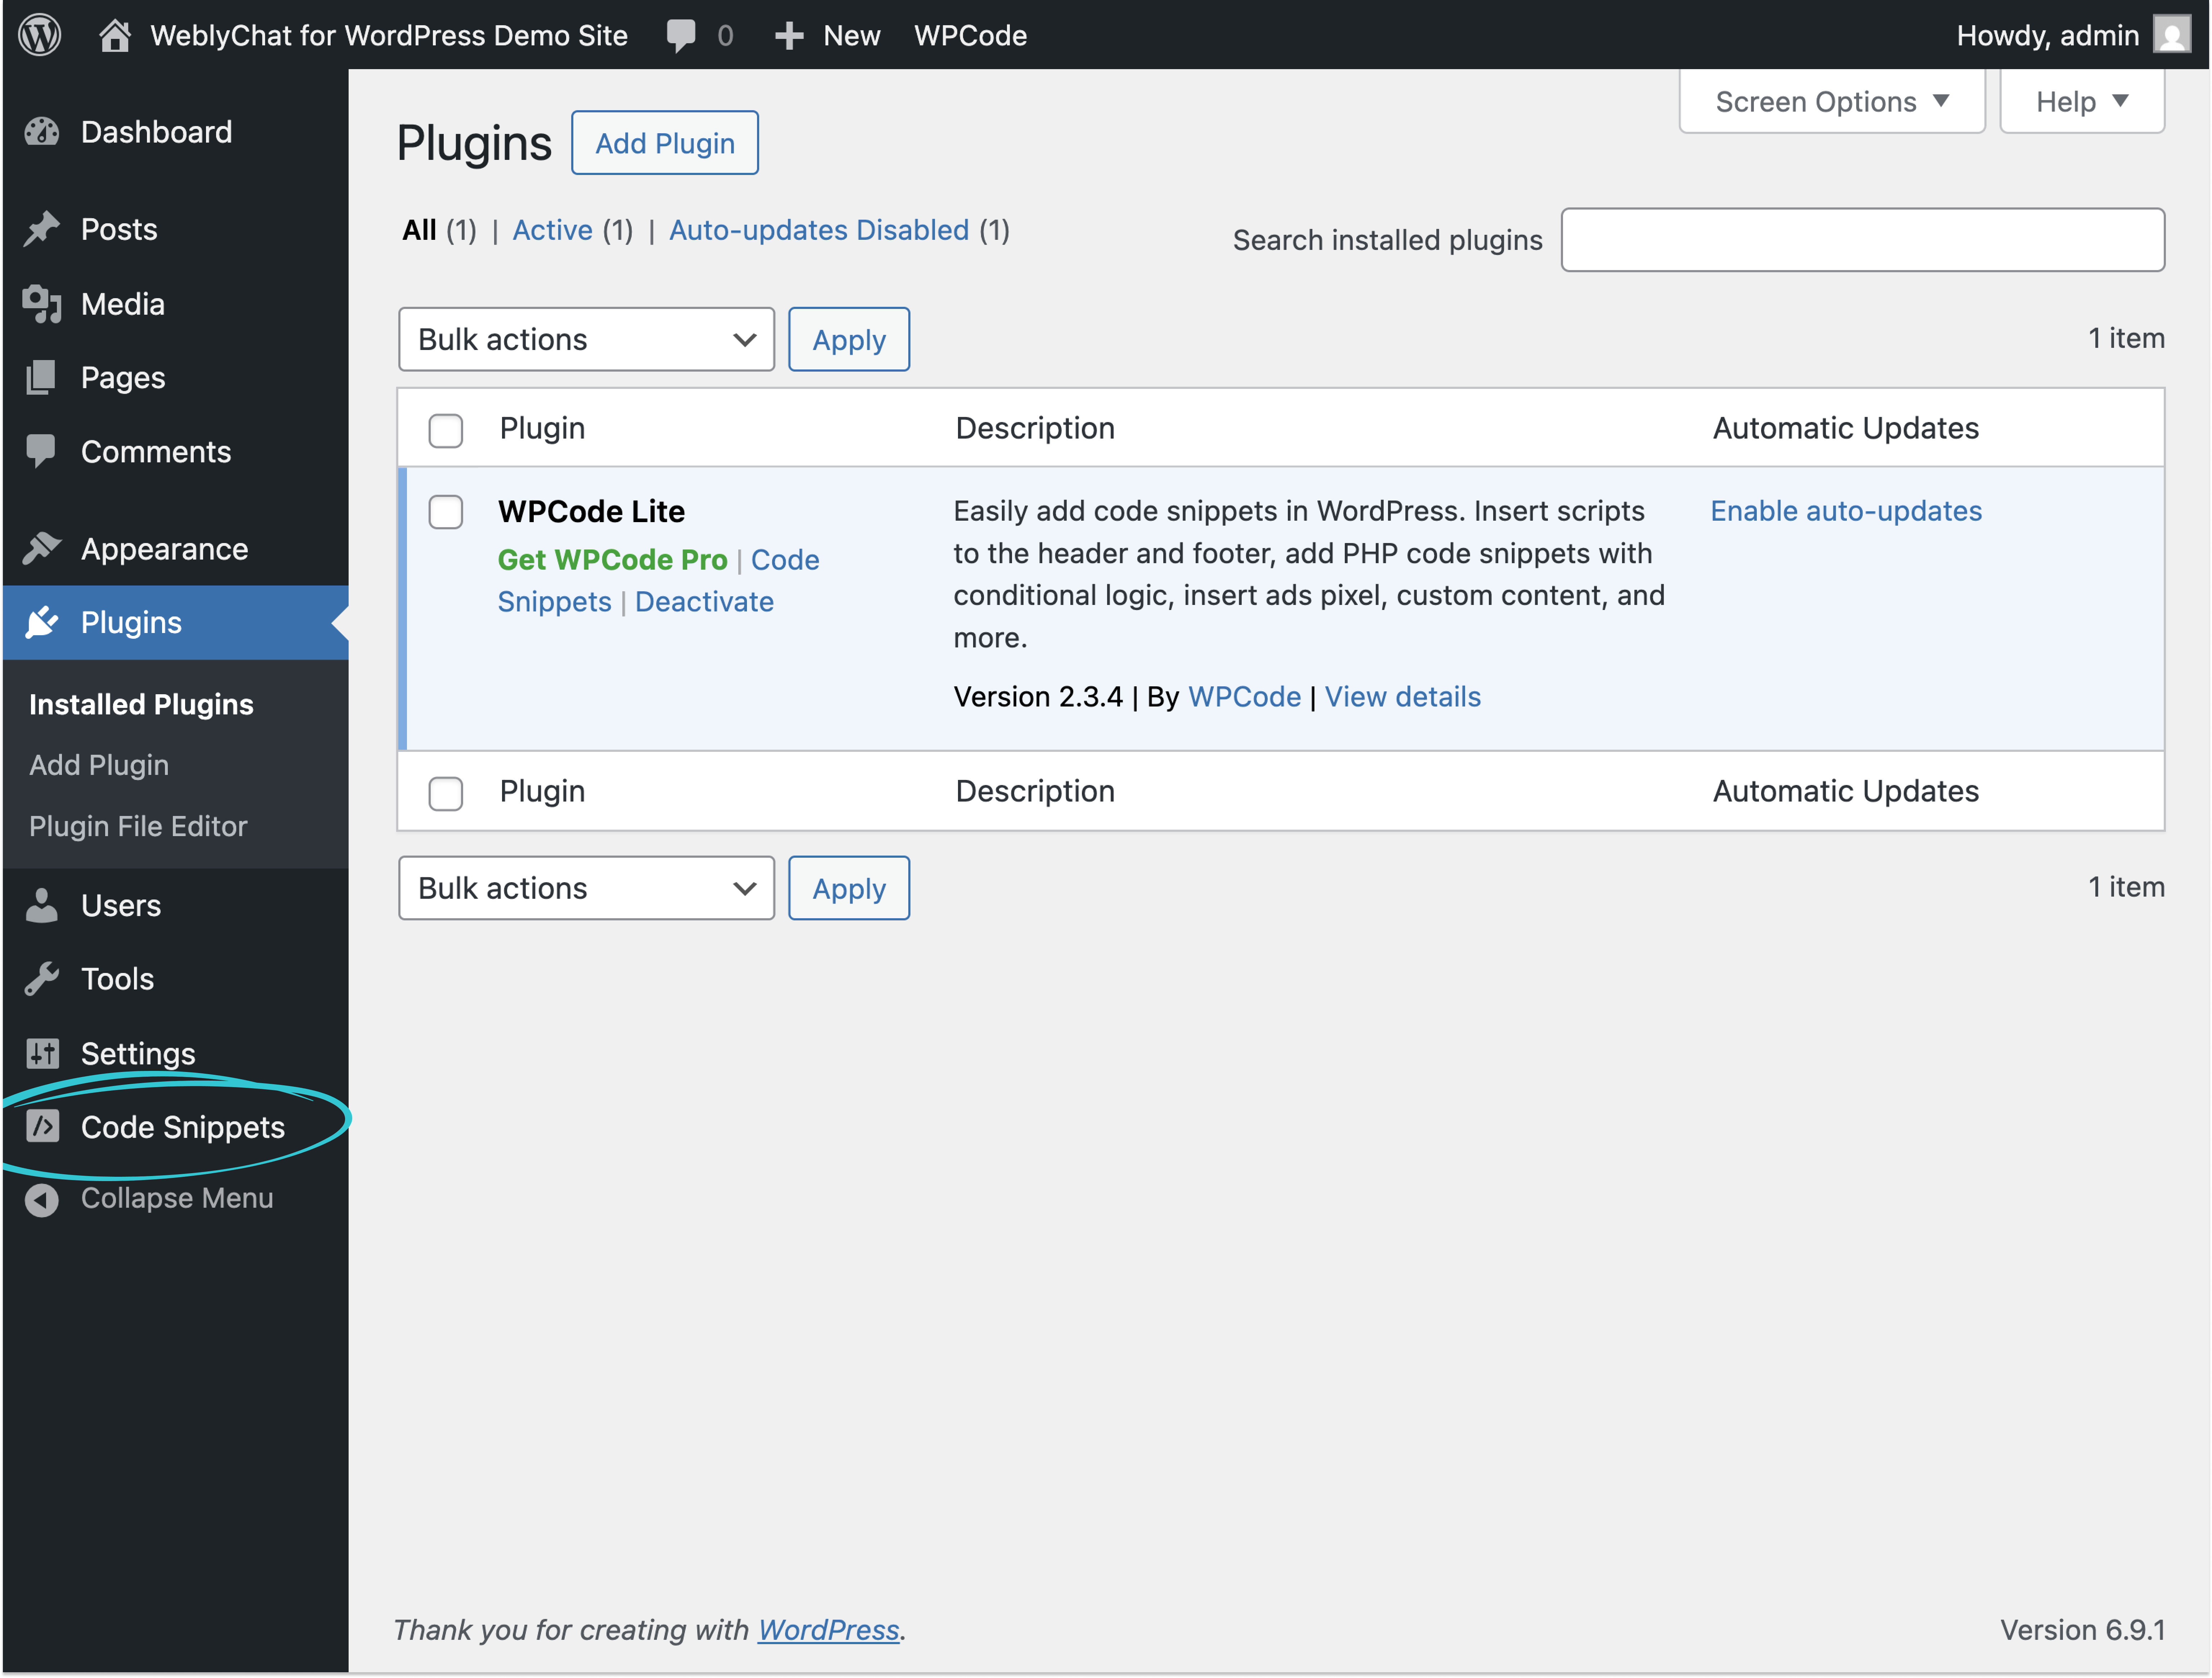
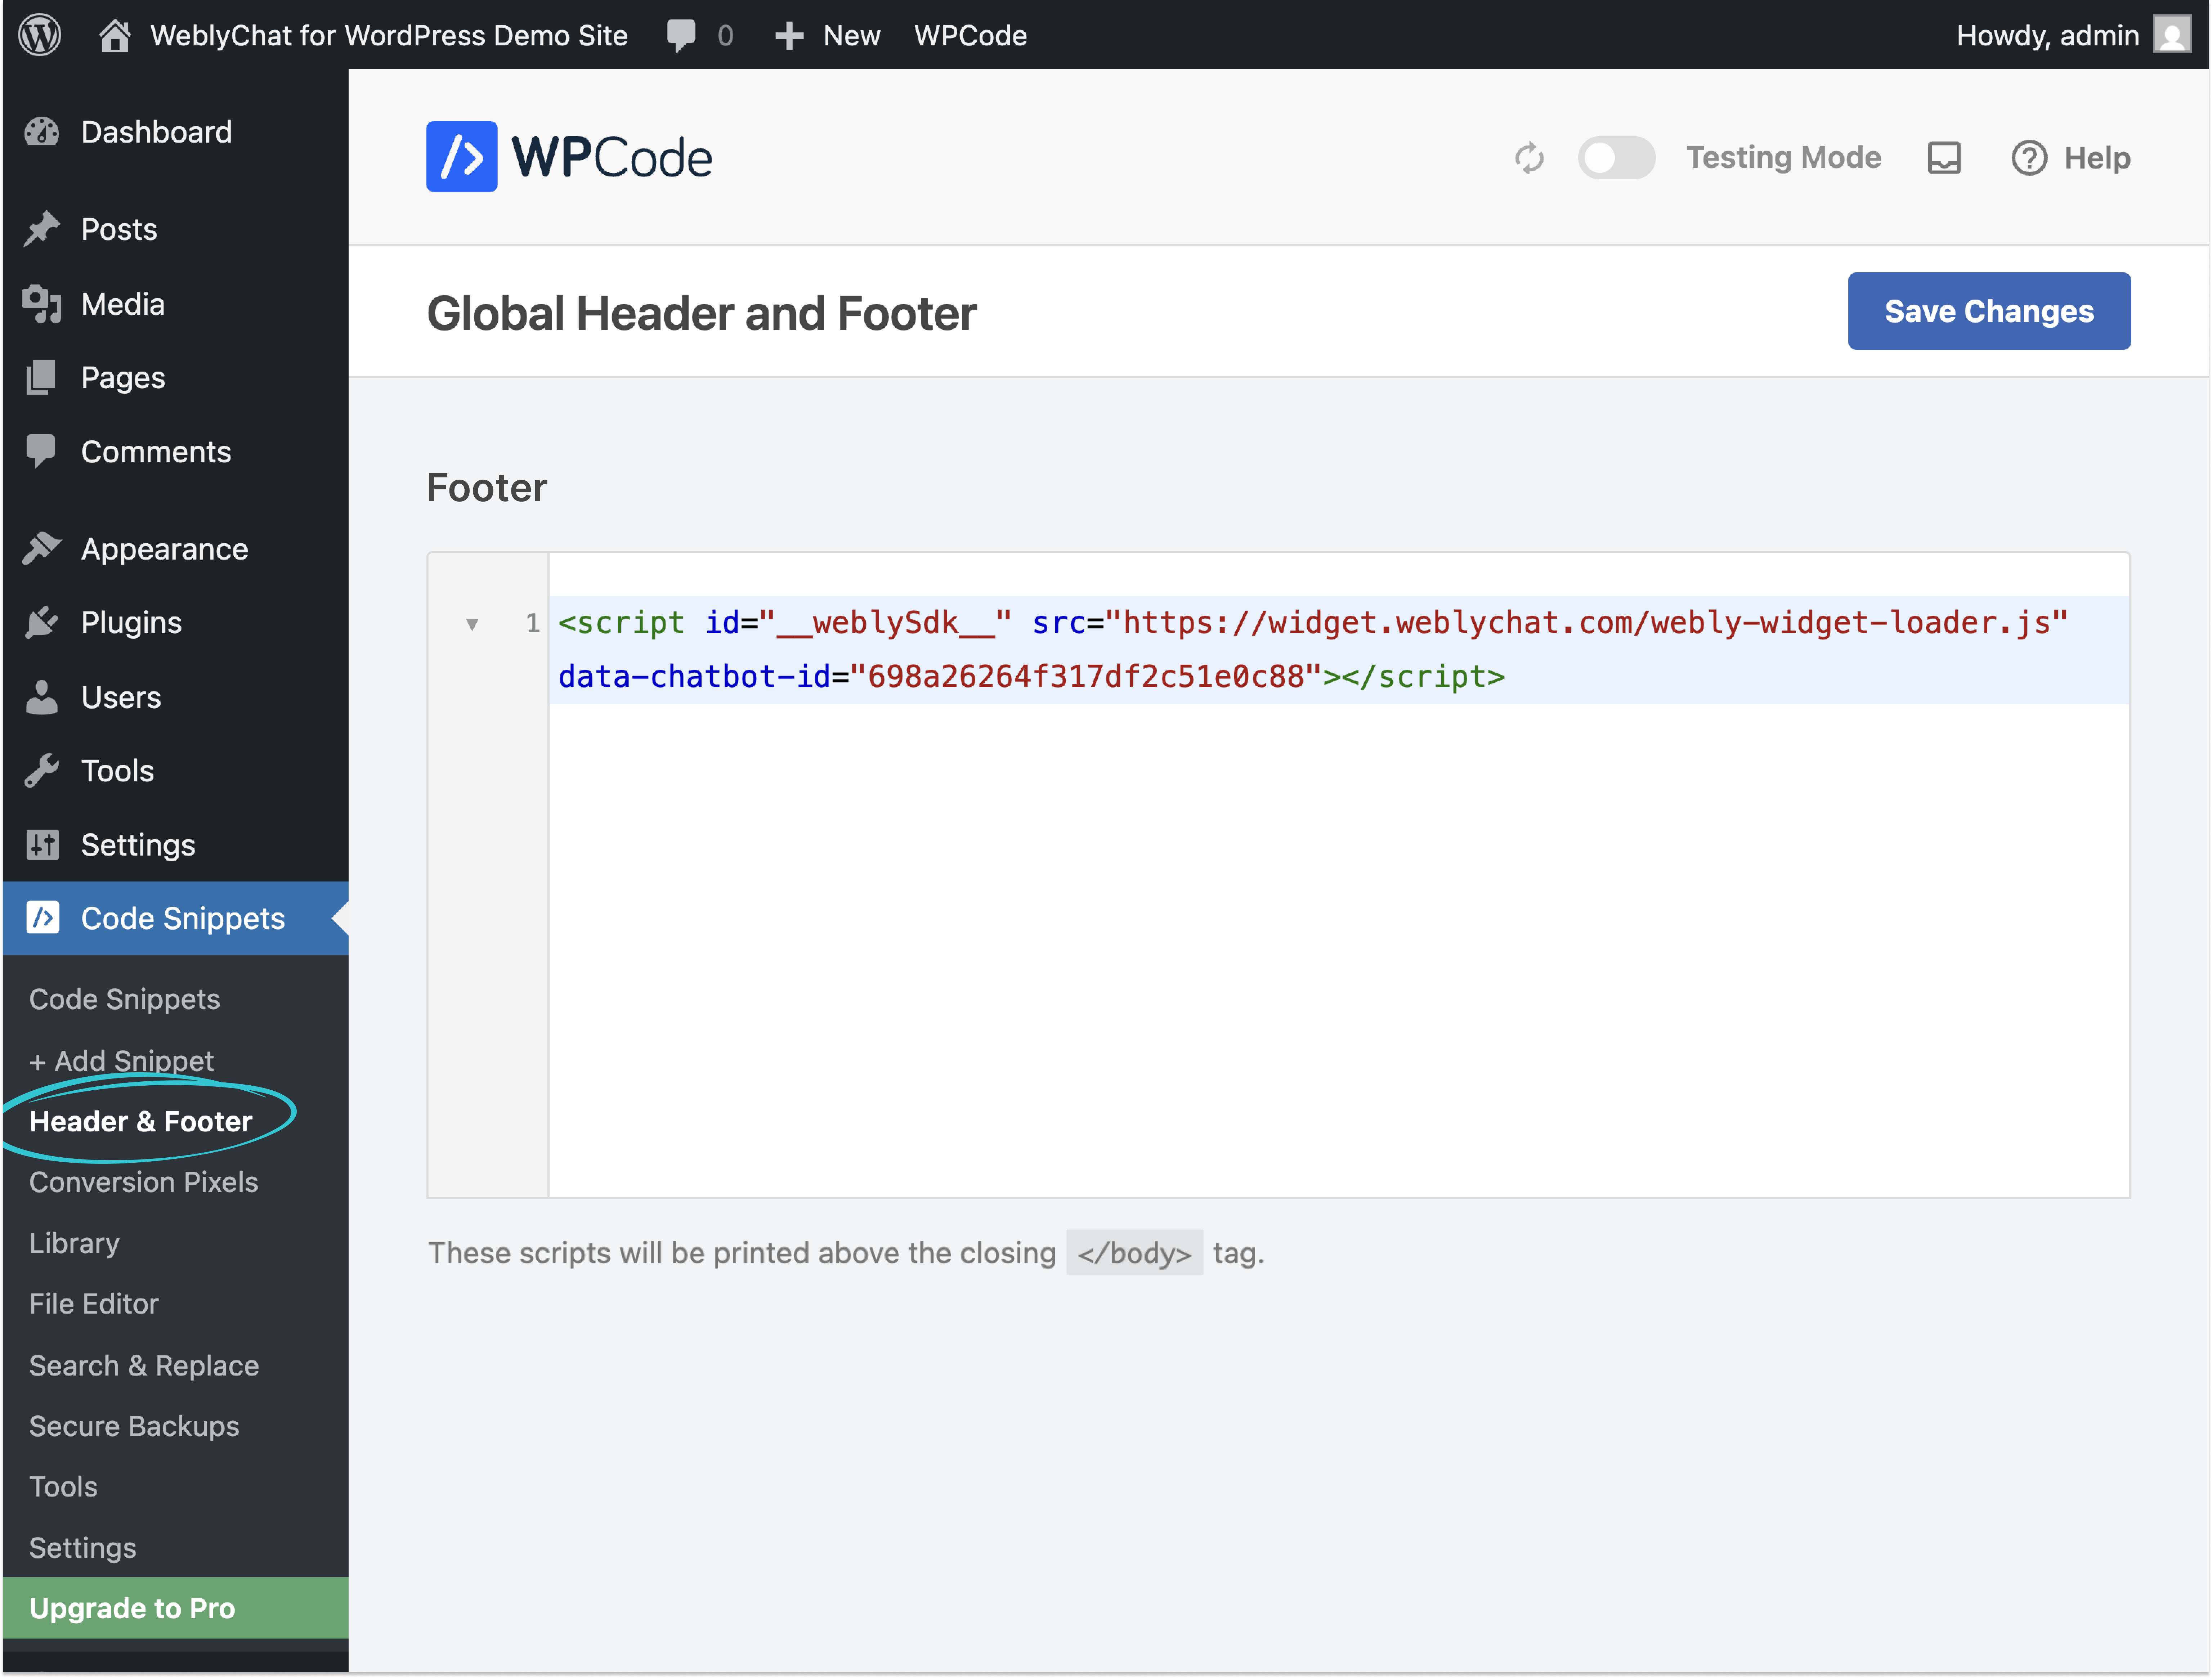
5. Click Code Snippets in the sidebar, then click Header & Footer in the dropdown
6. Scroll down to the Footer section and paste your WeblyChat code snippet there
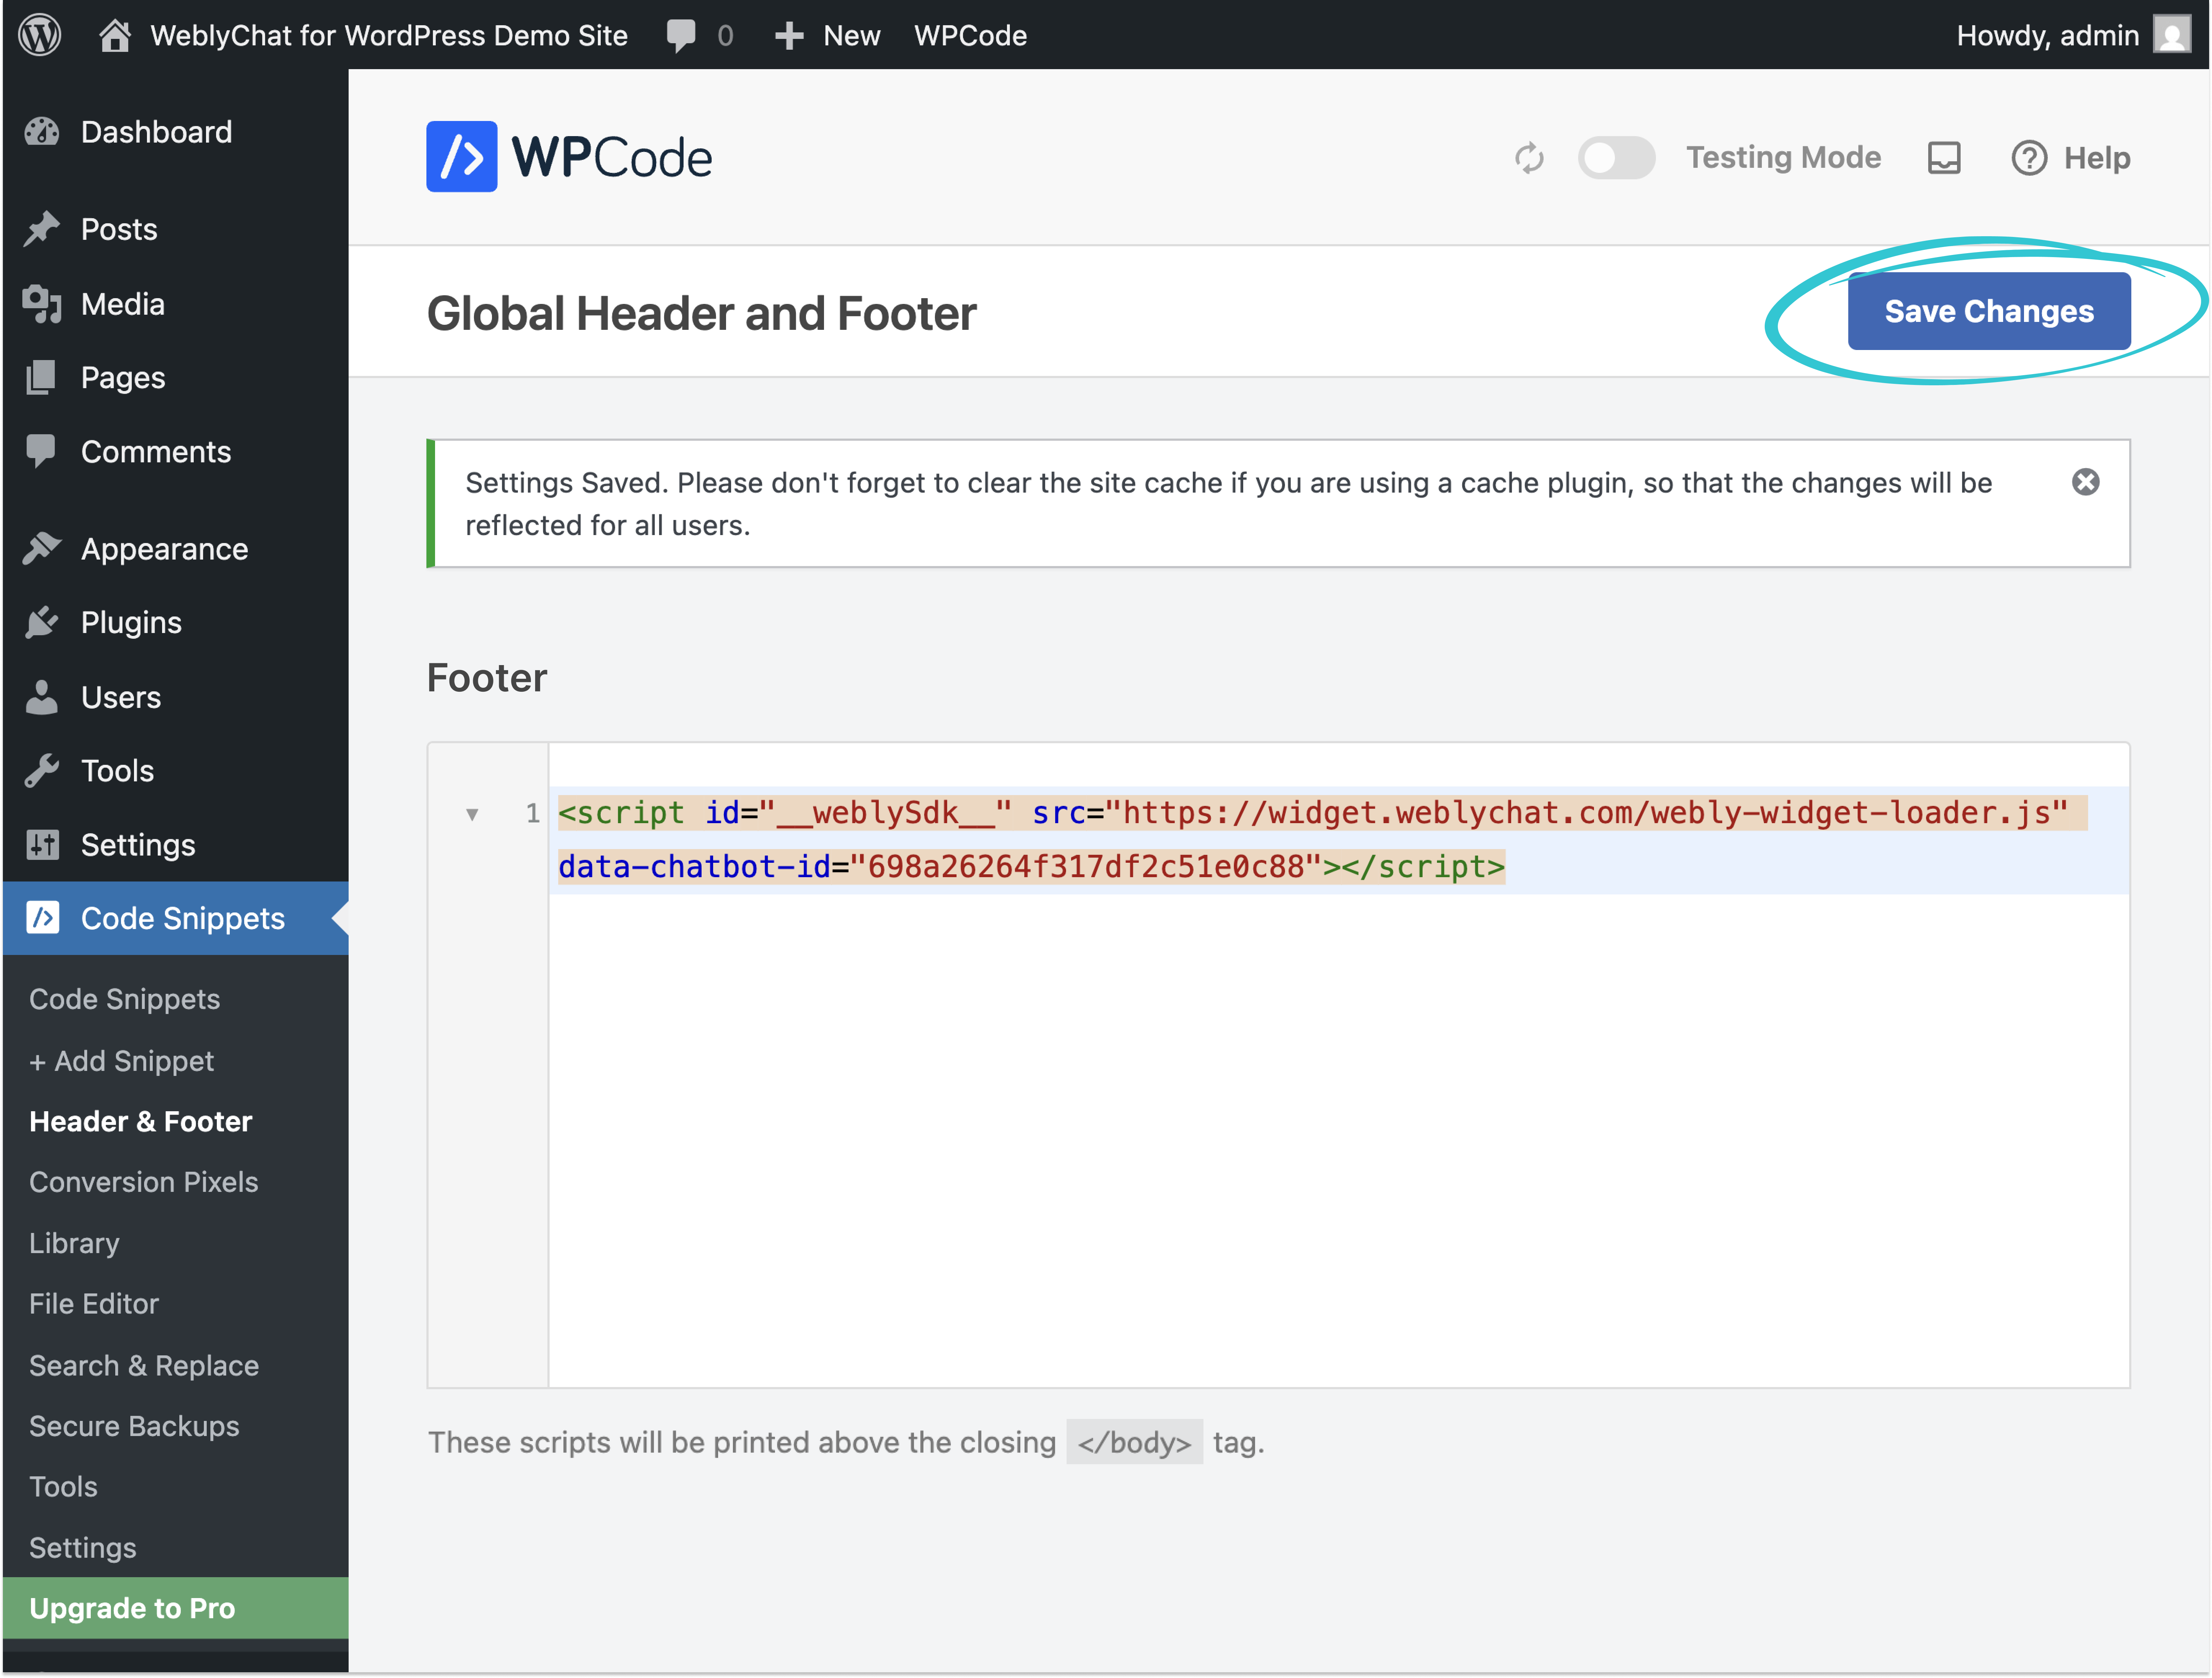
7. Click Save Changes
6. You Are Live
Visit your WordPress site and you should see the chatbot widget in the corner. That is it.

Any changes you make in your WeblyChat dashboard (colors, welcome message, training data) update instantly without touching WordPress again. You only paste the code once.
Ready to get started? Create your free WeblyChat account and have your WordPress chatbot live in under 5 minutes. The free plan includes 30 messages per month, enough to see your first real visitor conversations this week.
Alternative: Theme File Editor
If you prefer not to install a plugin, you can paste the code directly into your theme files. In your WordPress dashboard, go to Appearance then Theme File Editor, open footer.php, and paste the snippet just before the closing </body> tag. Click Update File.
This method works, but keep in mind: edits to theme files get overwritten when your theme updates, and a misplaced character in footer.php can break your site. For most WordPress site owners, the WPCode method above is safer and takes the same amount of time.
The Best Chatbot for WordPress Sites in 2026
WordPress powers over 40% of all websites on the internet. If you are running a business on WordPress, you probably chose it because it gives you control over your site without needing a developer for every change. Adding an AI chatbot to WordPress follows the same logic. You should not need to be technical to give your visitors a great experience.
The reality for most WordPress site owners is that you are wearing multiple hats. You are updating content, managing plugins, handling customer inquiries, and trying to grow your business at the same time. When a visitor lands on your site at 10 PM with a question about your services, you are probably not sitting at your computer waiting to respond. That visitor leaves, and you never know they were there.
A WordPress AI chatbot trained on your website answers the questions your visitors already have. Someone asks about your pricing, and the chatbot pulls the answer from your pricing page. Someone wants to know your hours or your return policy, and the chatbot responds instantly. This is not about replacing you. It is about making sure every visitor gets a response, whether you are available or not.
Why a Free Chatbot for WordPress Is the Right Starting Point
WeblyChat has a free plan that includes a fully functional AI chatbot trained on your WordPress site, 30 messages per month, and zero credit card required. That is enough to see your first real visitor conversations and decide if it is worth upgrading. Most WordPress chatbot plugins either have no free tier or offer a limited trial that expires. WeblyChat's free plan renews every month.
Beyond the free plan, what separates WeblyChat from other options is how it installs. Most WordPress chatbot plugins install directly into your site, adding database queries, update dependencies, and potential conflicts with your other plugins. WeblyChat takes a lighter approach: one line of code, pasted once. The AI runs externally, so your WordPress site stays fast and clean. If you have been searching for a wordpress ai chatbot plugin that does not slow down your site or require ongoing maintenance, this is the approach worth trying.
Here is why that matters:
- No plugin conflicts. Most WordPress chatbot plugins can conflict with your theme or other plugins after updates. WeblyChat loads externally, so it never touches your plugin stack.
- No database overhead. Traditional chatbot plugins add database queries on every page load. WeblyChat loads asynchronously from an external script, so your WordPress database is not affected.
- No update maintenance. You never need to update a chatbot plugin version, check compatibility with your WordPress core version, or worry about a plugin breaking after a theme update.
- Works everywhere. The same code works on any WordPress theme, any hosting provider, and alongside any page builder. There is nothing to configure per-environment.
If you have used WordPress for any length of time, you know that fewer plugins means fewer problems. WeblyChat gives you everything you want from a WordPress chatbot plugin with none of the typical downsides.
WordPress Chatbot Comparison
Not all WordPress chatbots are priced the same or work the same way. Here is how WeblyChat stacks up on the features that matter most.
Pricing and features verified February 2026. Visit each provider's website for the most current information.
All four tools can add a chatbot to your WordPress site. Tidio is primarily a live chat platform that offers AI as a paid add-on. Chatling offers AI training and a visual flow builder, but charges per AI credit once you exceed your plan limit. ChatBot.com is built for larger teams that need complex workflows and integrations. WeblyChat is the fastest way to get a trained AI chatbot on your WordPress site. Paste one code snippet, point it at your URL, and your chatbot is live and answering visitor questions in minutes.